Planning and creating library elements: tips
3 min read
Available in
- Desktop
A well-organized library with high-quality objects saves time, simplifies daily tasks, and enhances quality. Establishing a consistent approach across the organization makes it easier to share data and collaborate smoothly.
This article guides you through planning and creating your library objects.
Overview:#
- Phase 1 | Planning the Elements
- Phase 2 | Creating Elements, Adding to Your Library, and Exporting
Phase 1 | Planning the Elements#
Titles
- Choose Concise Names - Limit to 80 characters (as per Halocline standards as of 17.03.26).
- Use Common Terms: Opt for the most widely recognized term when multiple options exist.
- Sorting Note: Elements in your local library are not sorted alphabetically but by import and creation order, so the title does not affect sorting.
Tags
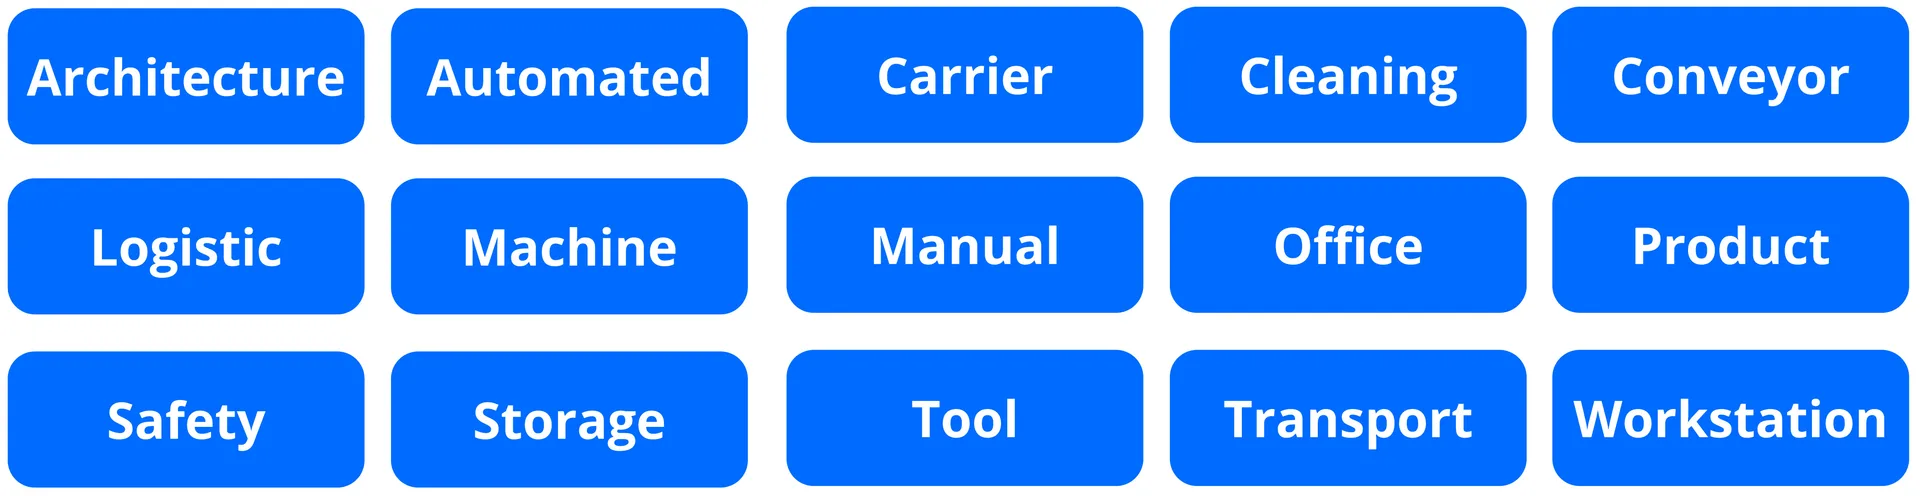
- Tags help filter objects in your library.
- Use up to three Tags: Suggested examples are provided, but you can rename them to use your own. Learn more here about VR libraries and tags.
Phase 2 | Object Creation, Adding to Library, and Export#
Creating Objects#
General Guidelines
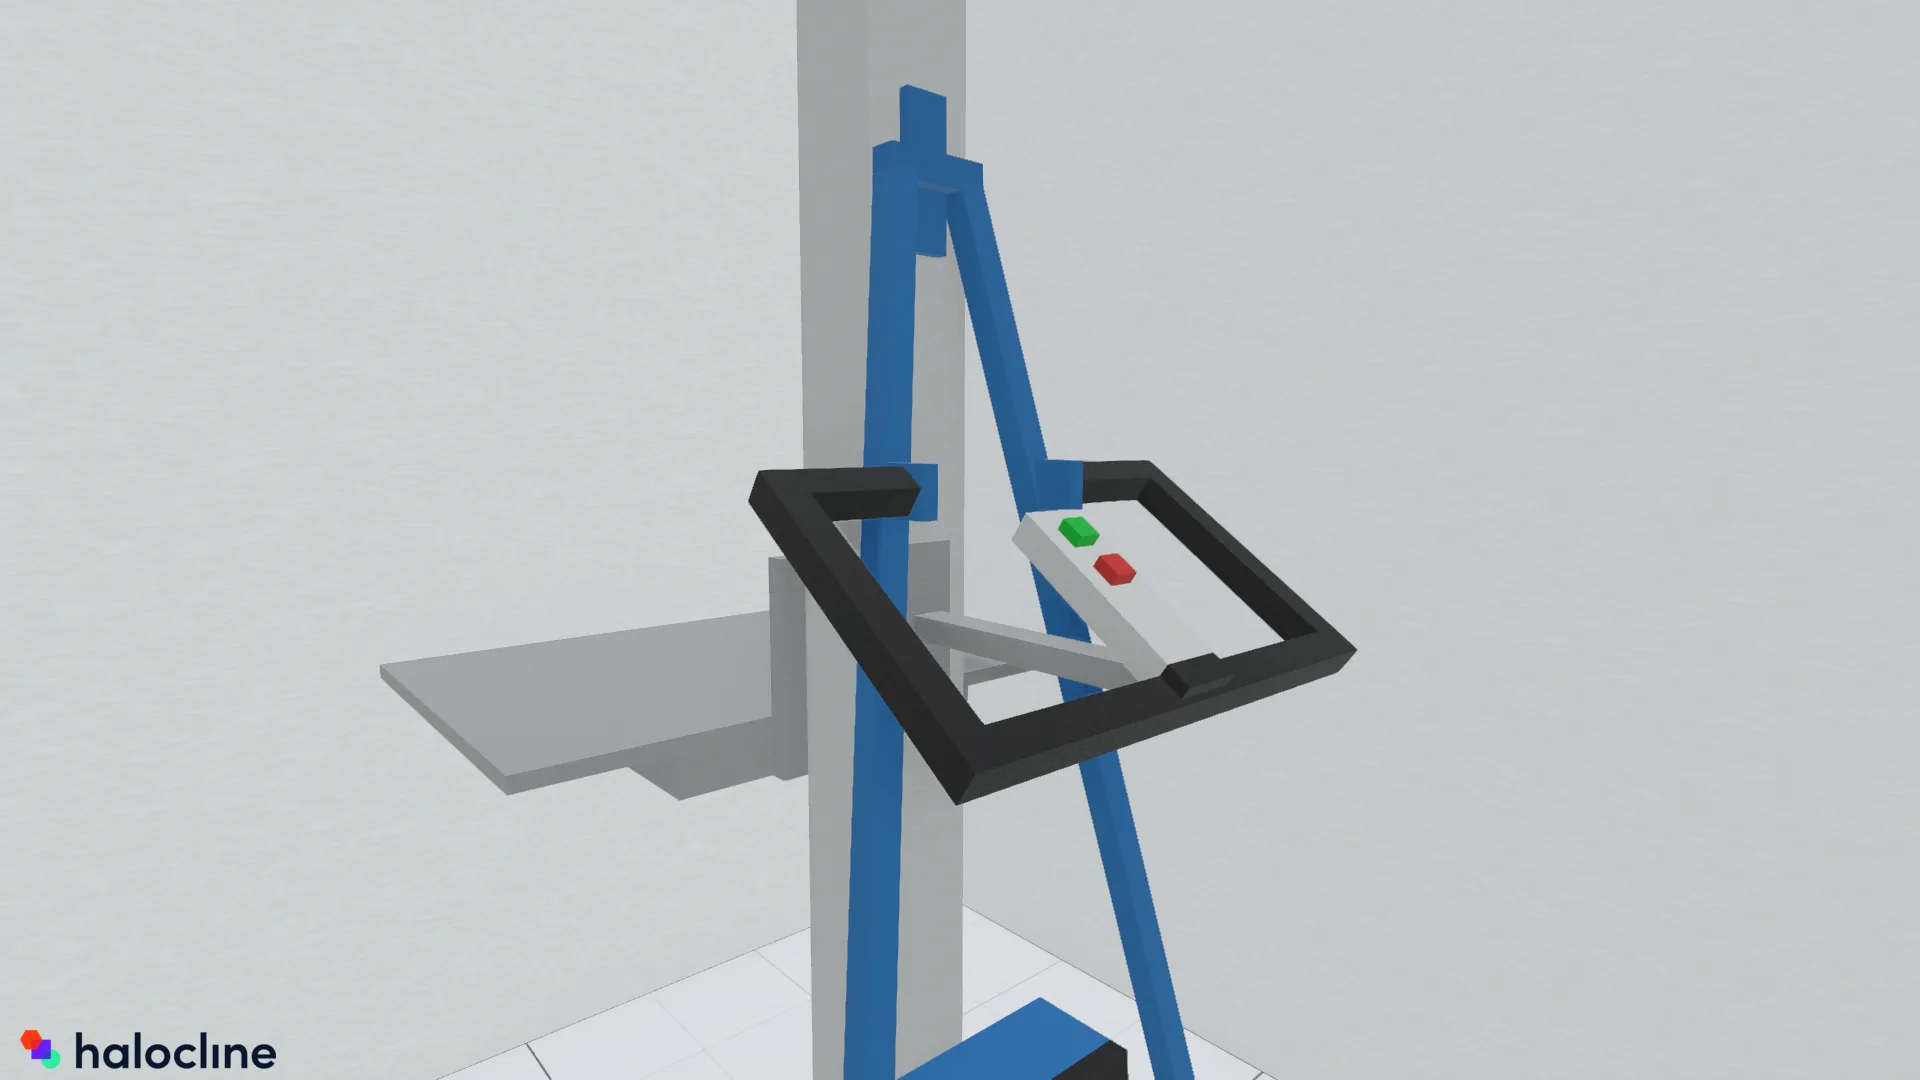
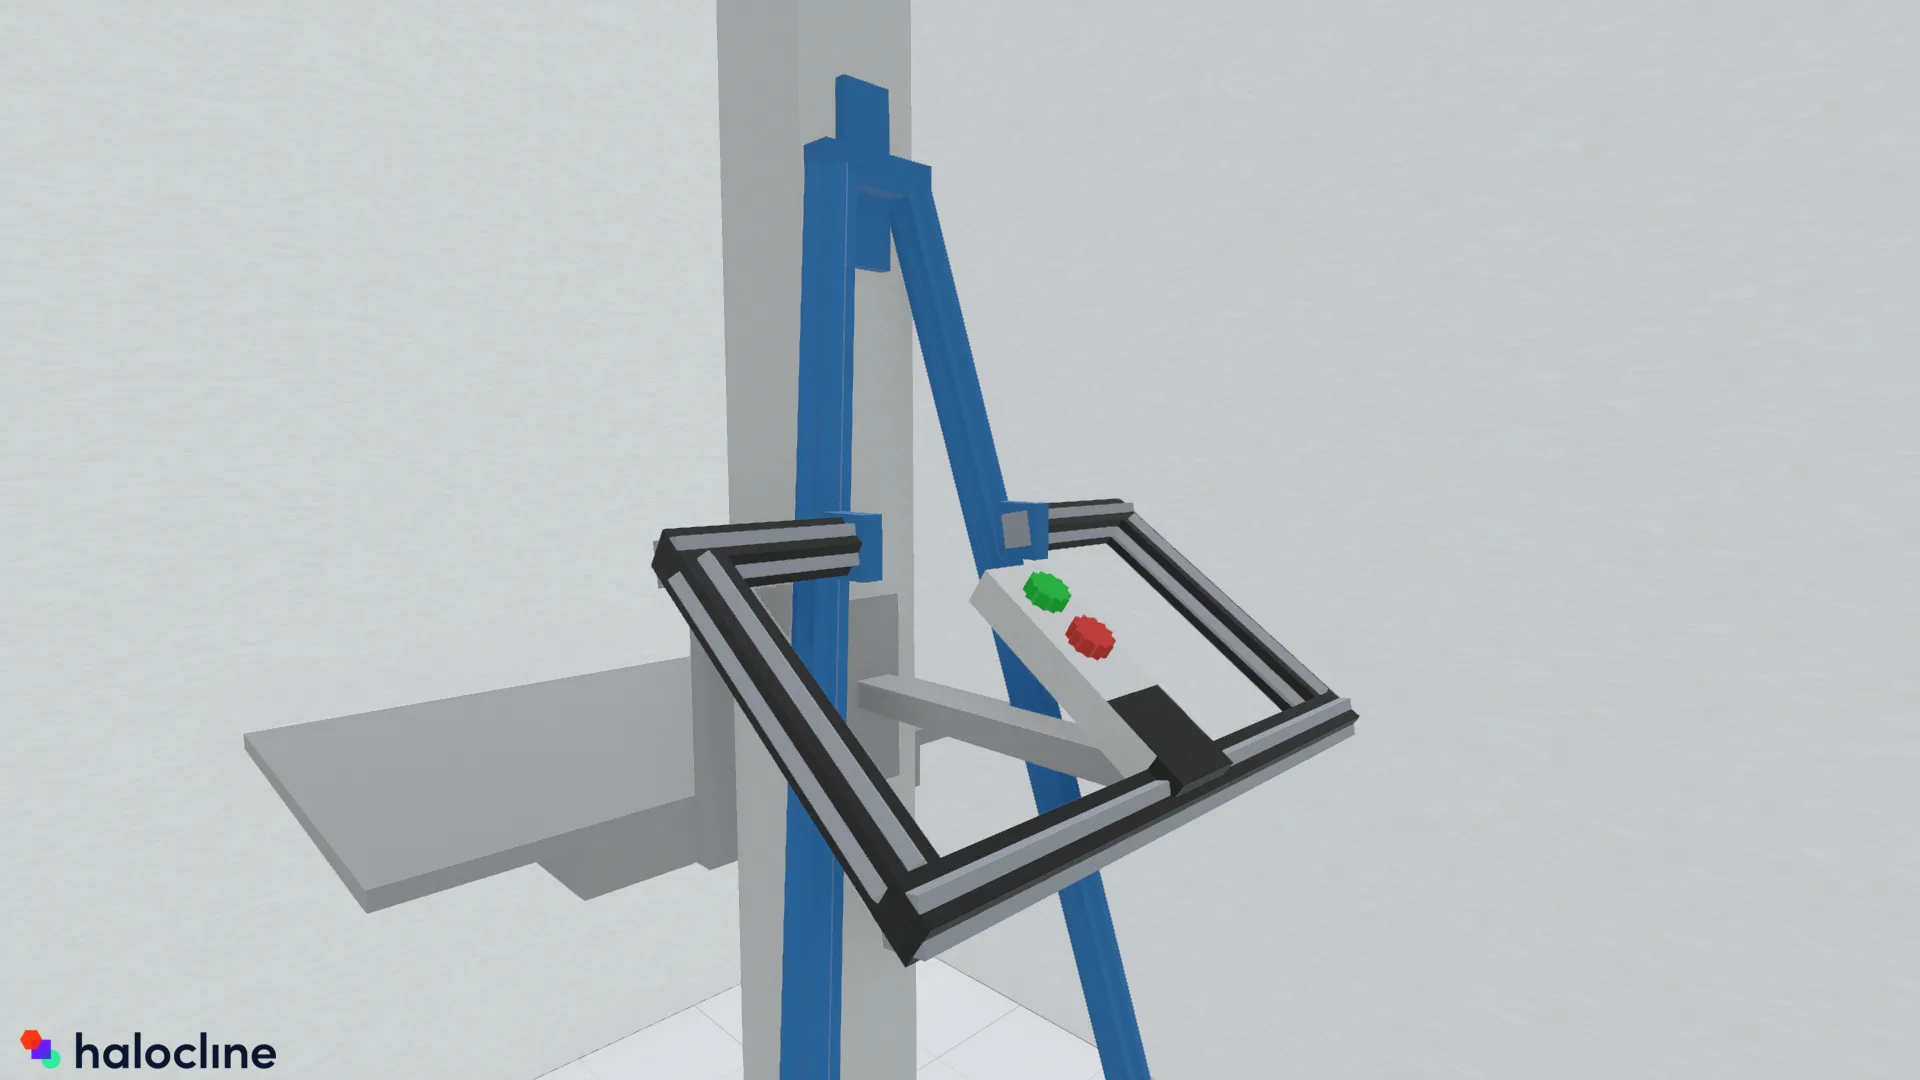
- Maintain a consistent design across objects for better planning clarity.
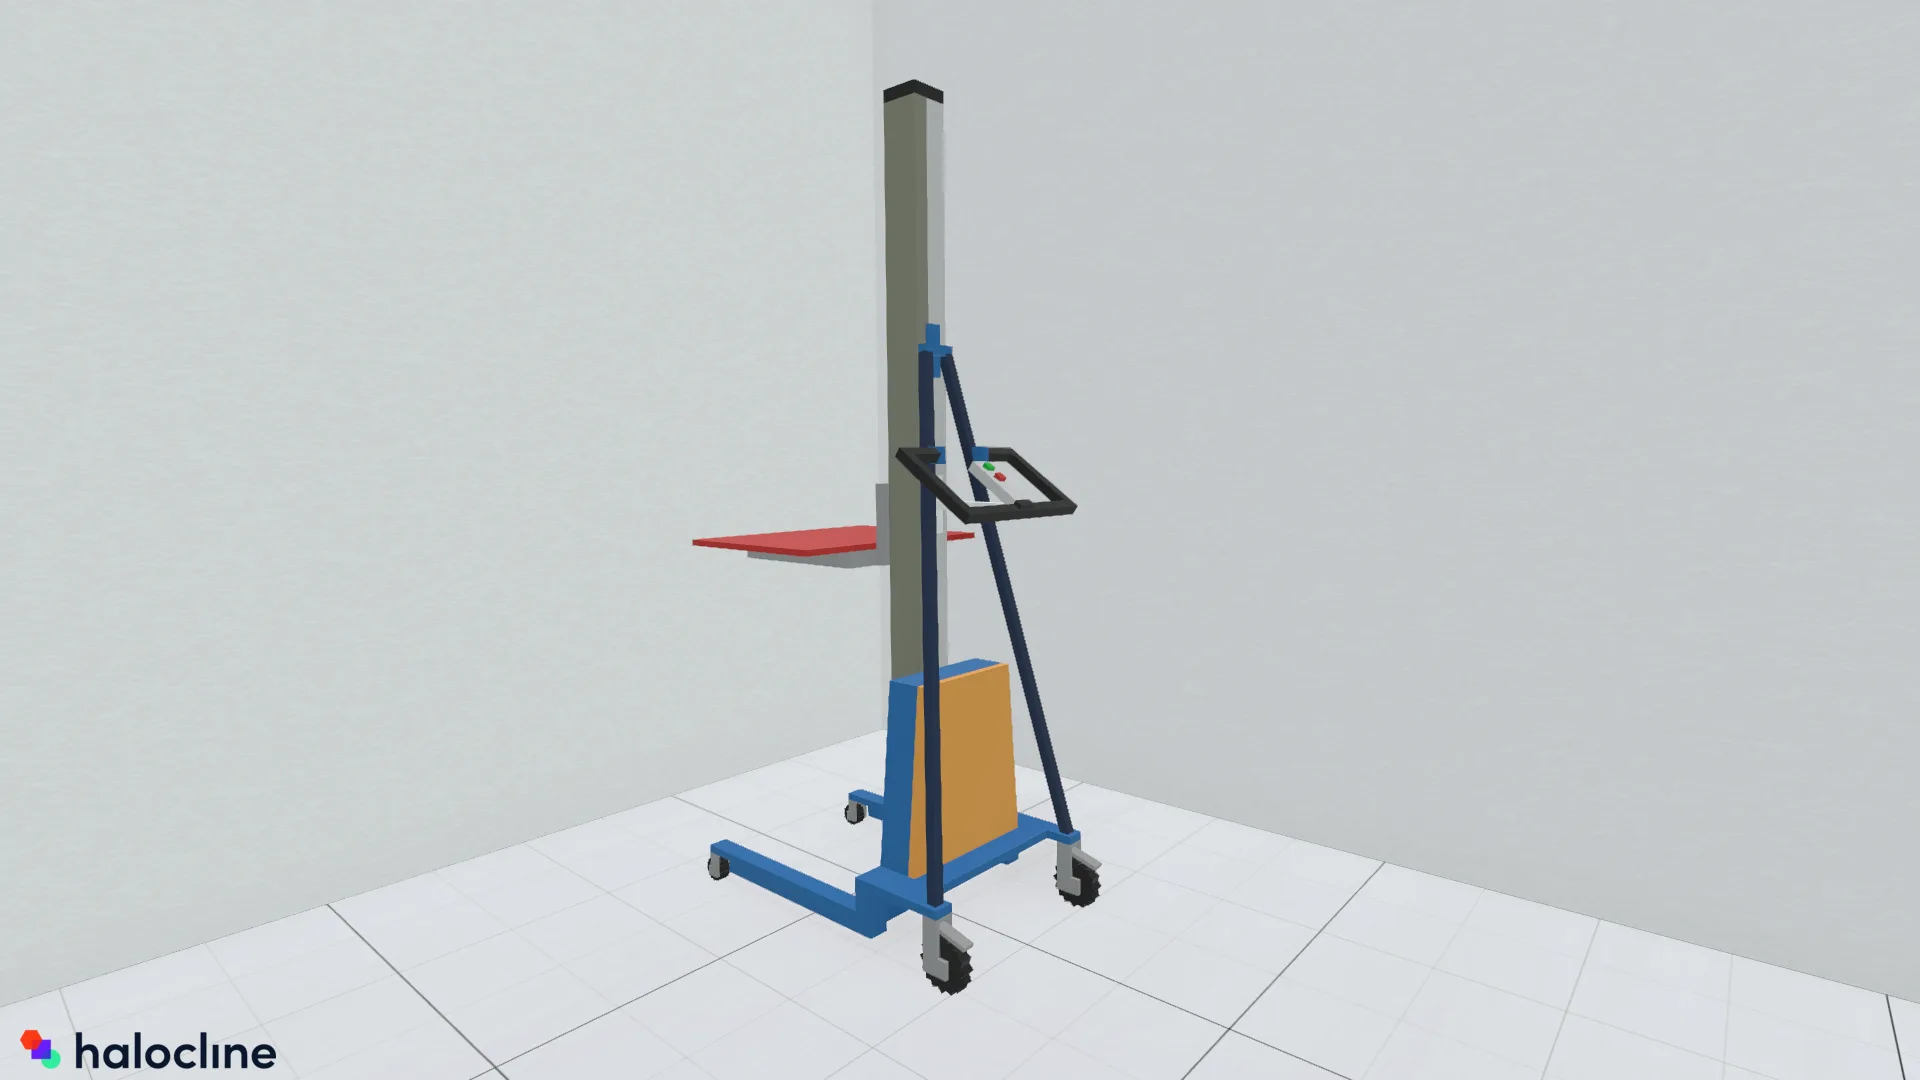
- Use only the necessary number of boxes to optimize performance.
- Avoid overlapping boxes. If overlaps are necessary (e.g., wheels), assign identical colors to avoid flickering.
- Be mindful of rotated boxes to enable later scaling. Learn more here under “Changing Group Size”.
|
Do's
|
Dont's
|
Colors
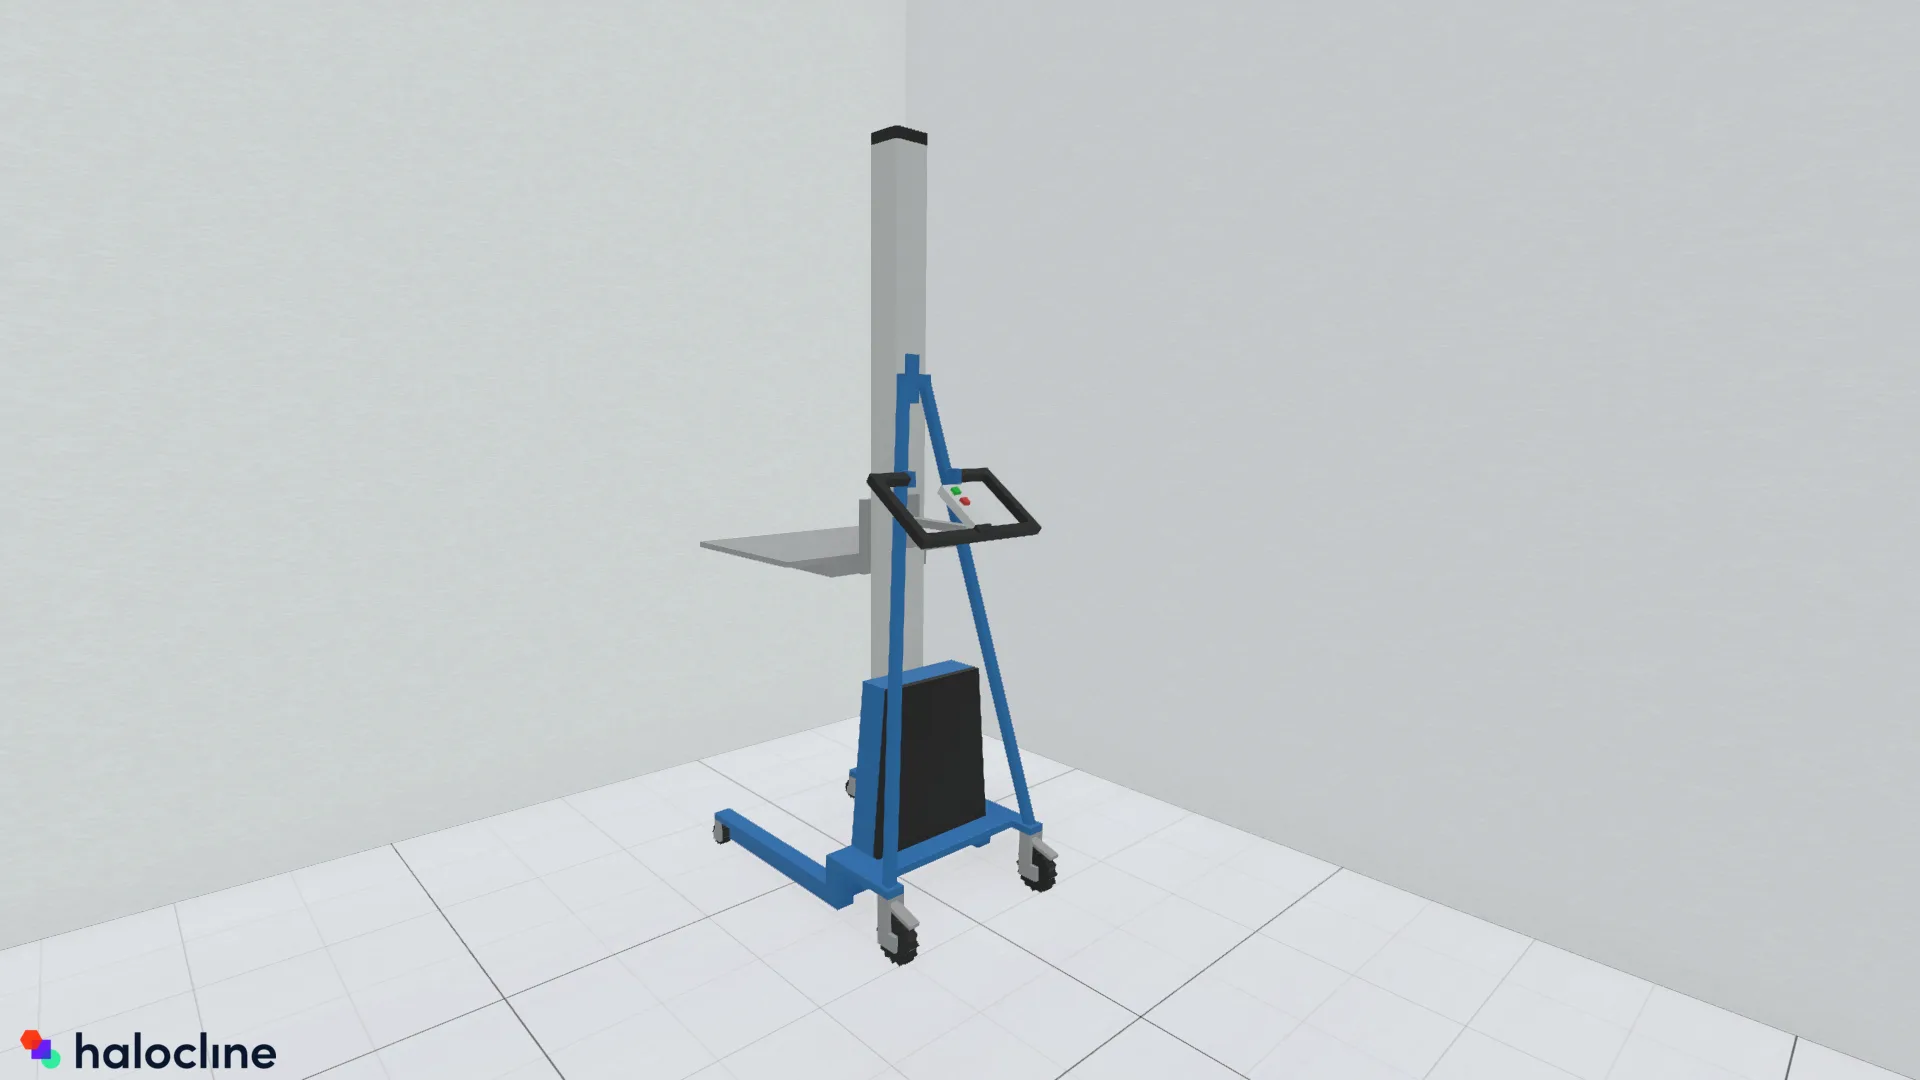
- Use a reasonable number of colors, typically two to four.
- Avoid overly colorful designs.
- Prefer neutral shades for primary components and highlight with accent colors.
- Represent identical materials with consistent colors.
|
Do's
|
Dont's
|
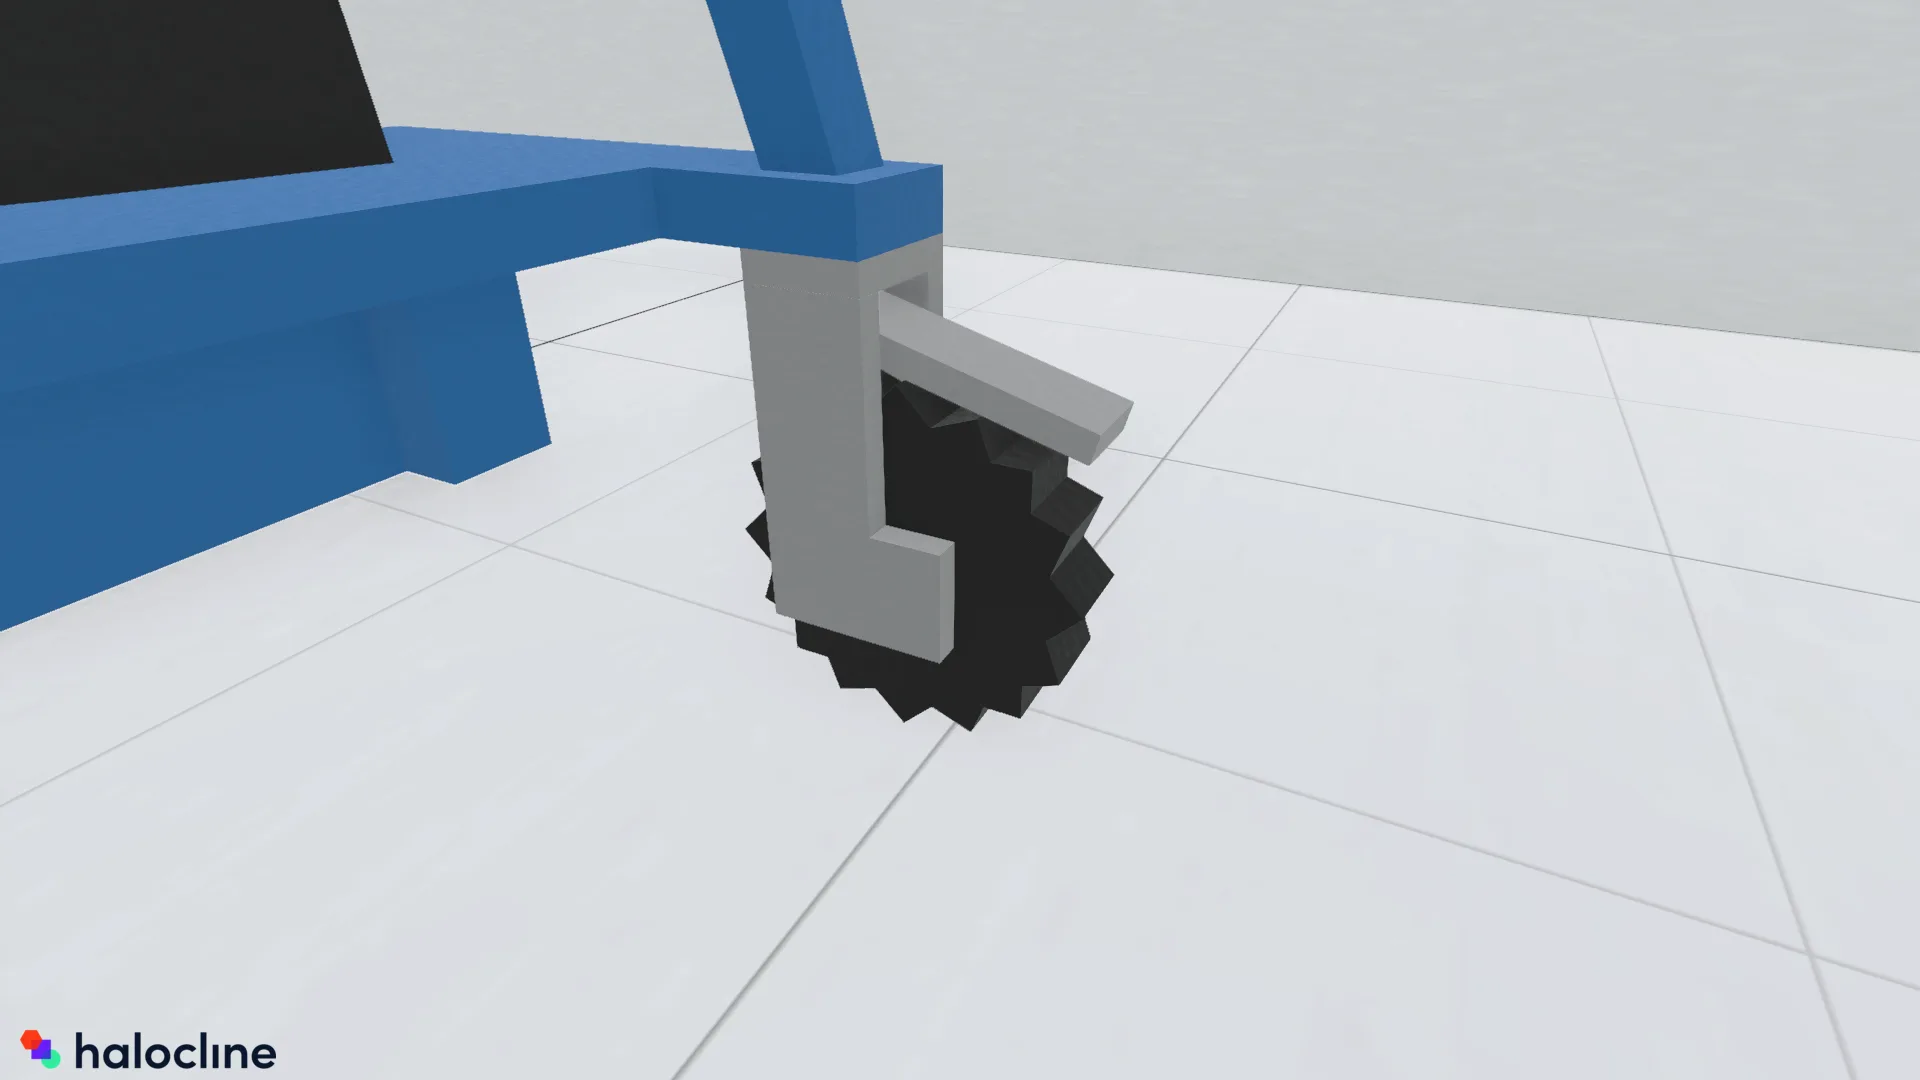
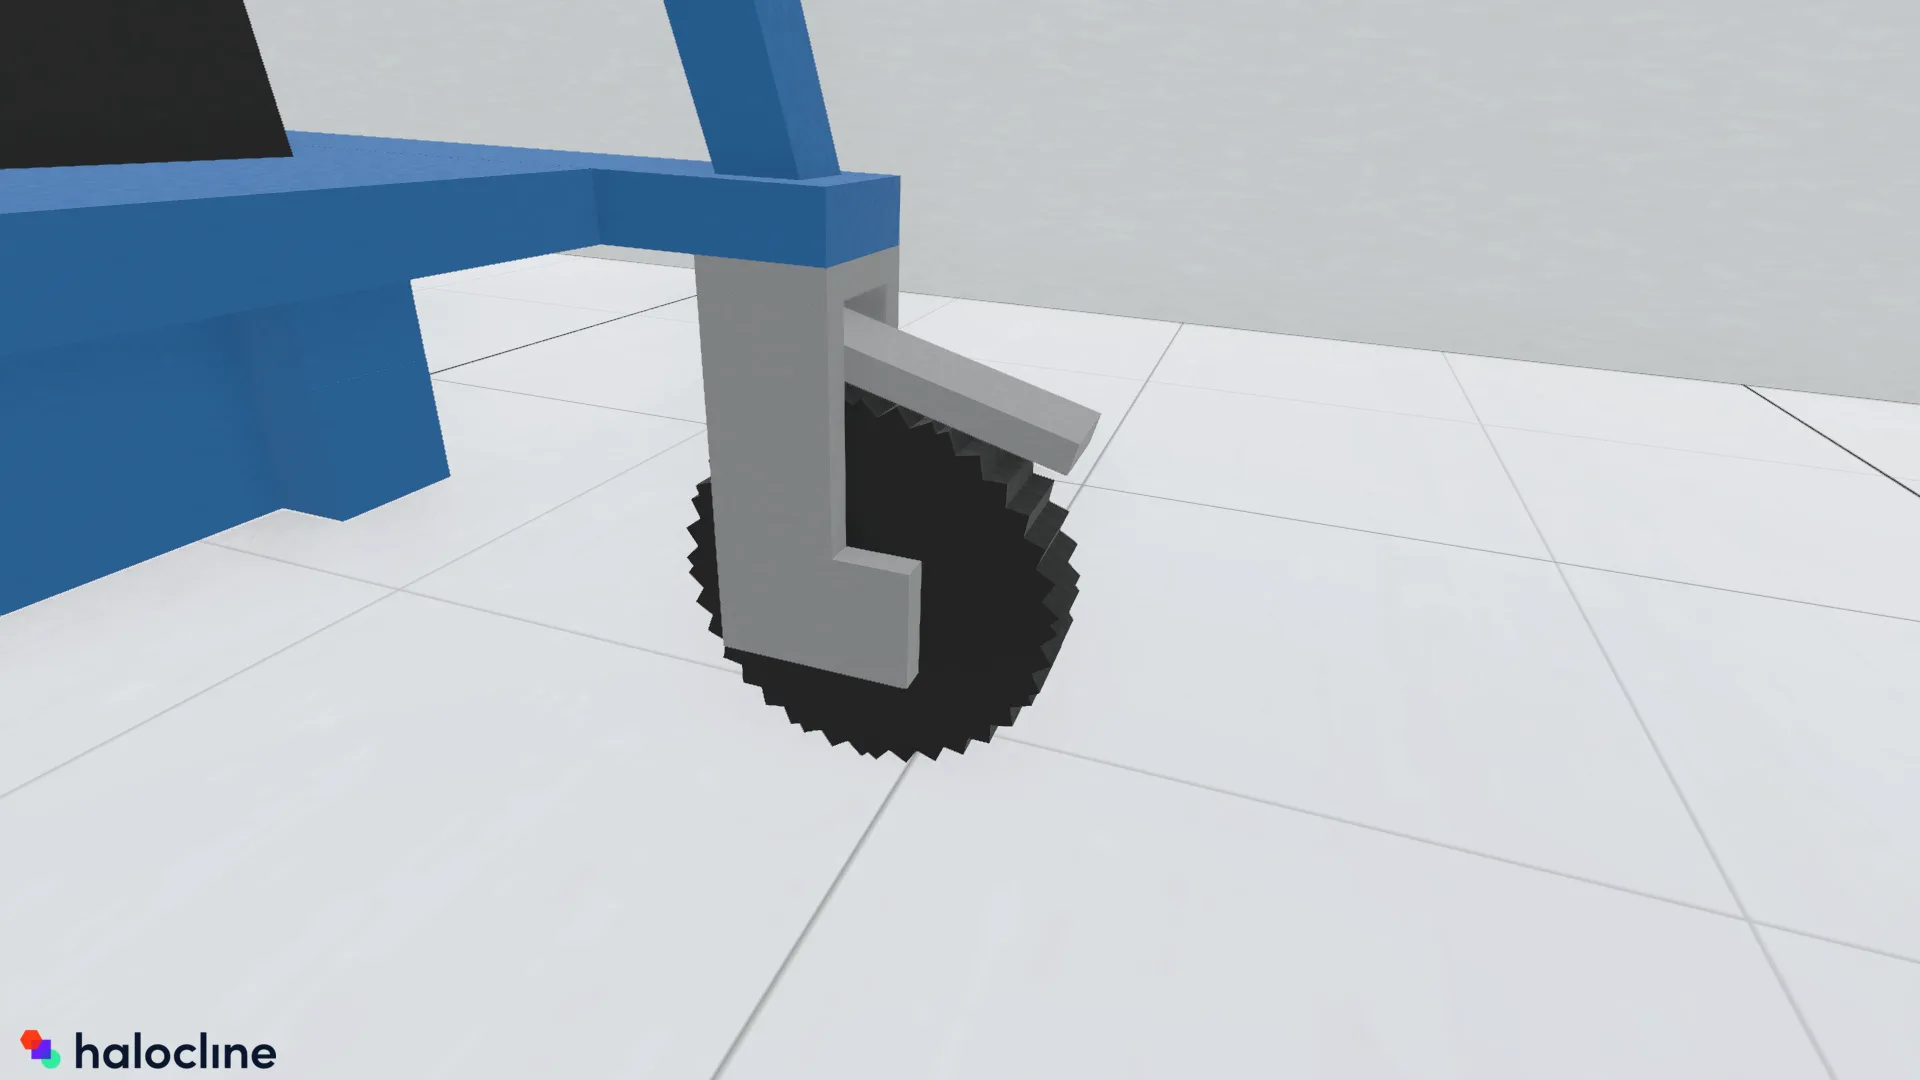
Rounded Shapes
- Approximate rounded shapes using up to four offset boxes: Position the first box straight. Duplicate it, rotating by 45°. Duplicate the straight box twice more, rotating one by 20° left and the other by 20° right. Learn more here.
- Warning: Avoid finer resolutions to prevent performance issues.
|
Do's
|
Dont's
|
Grouping Geometry
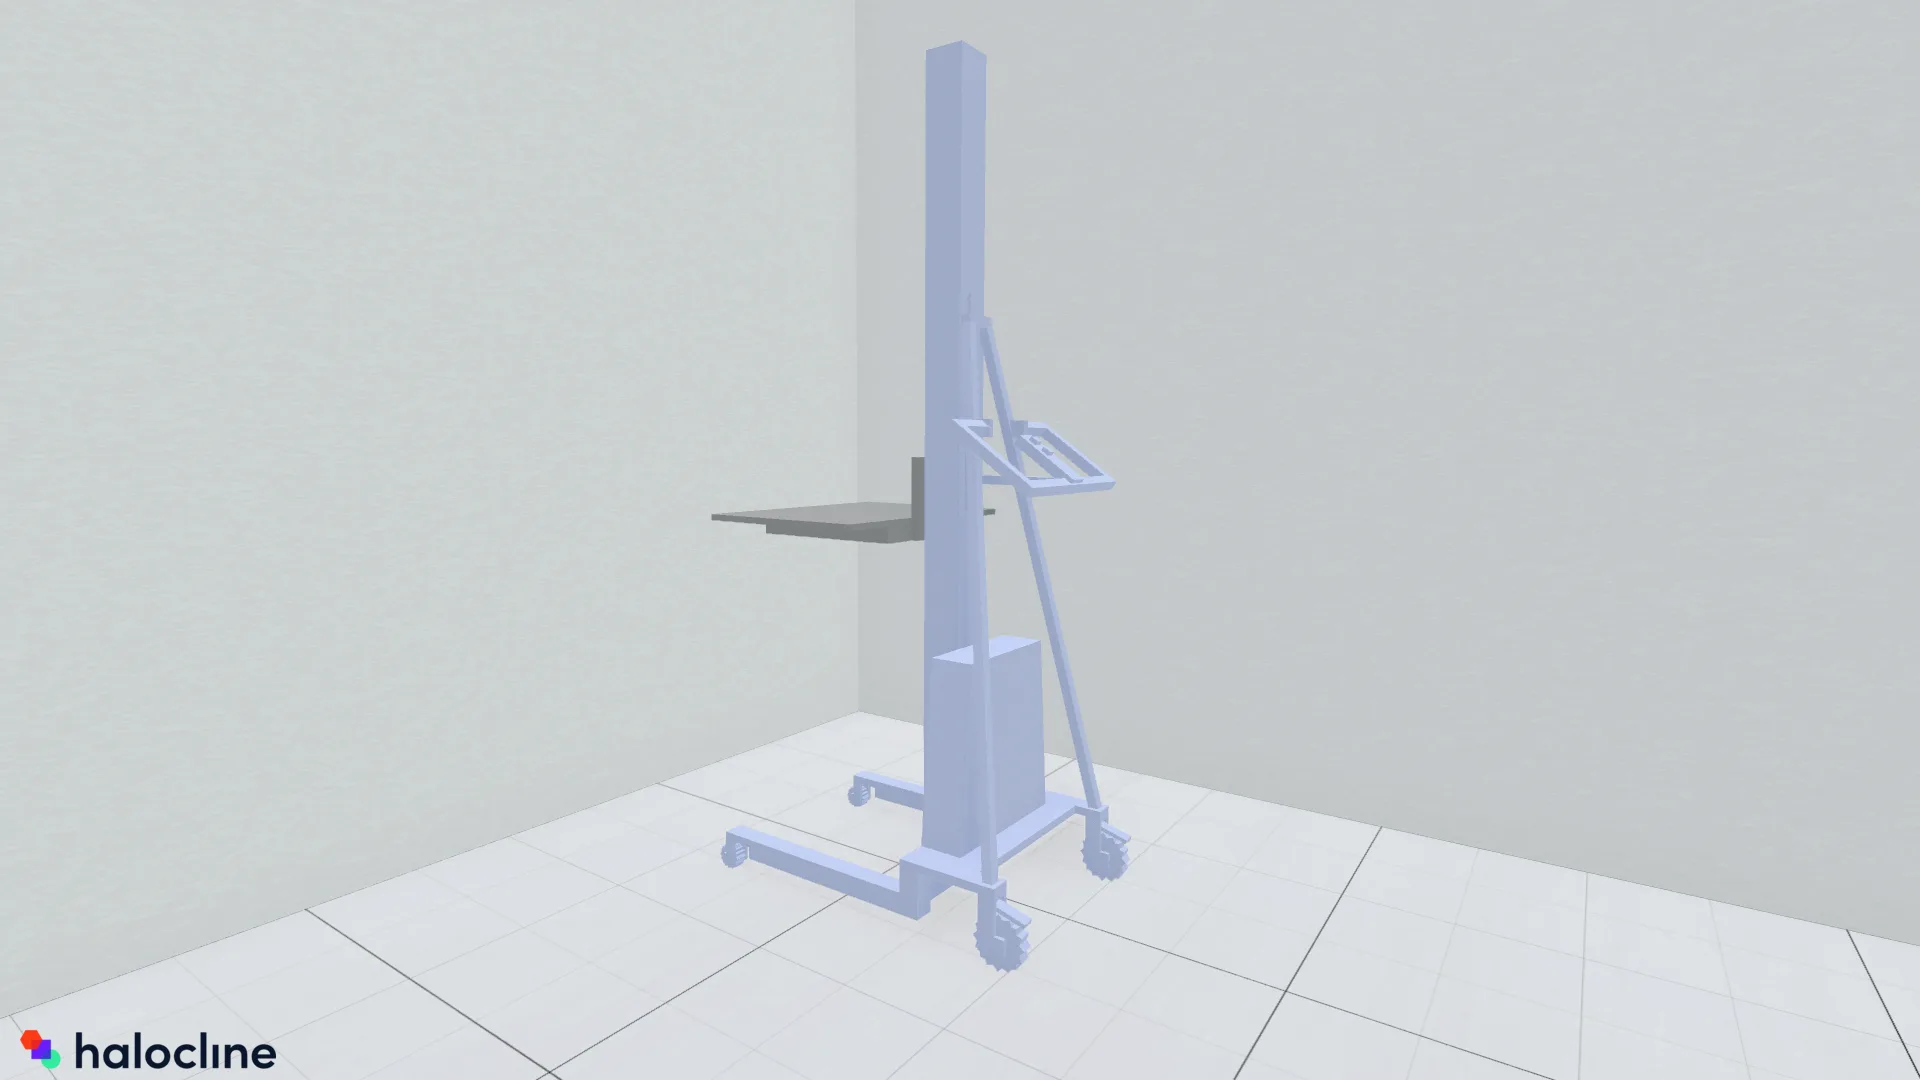
- Use groups to divide your element into logical subgroups. This way it can be adjusted more quickly and easily afterwards (e.g., adjusting the pickup height of the material lifter).
- Limit groups to two or three levels, to simplify editing.
|
Do's
|
Dont's
|
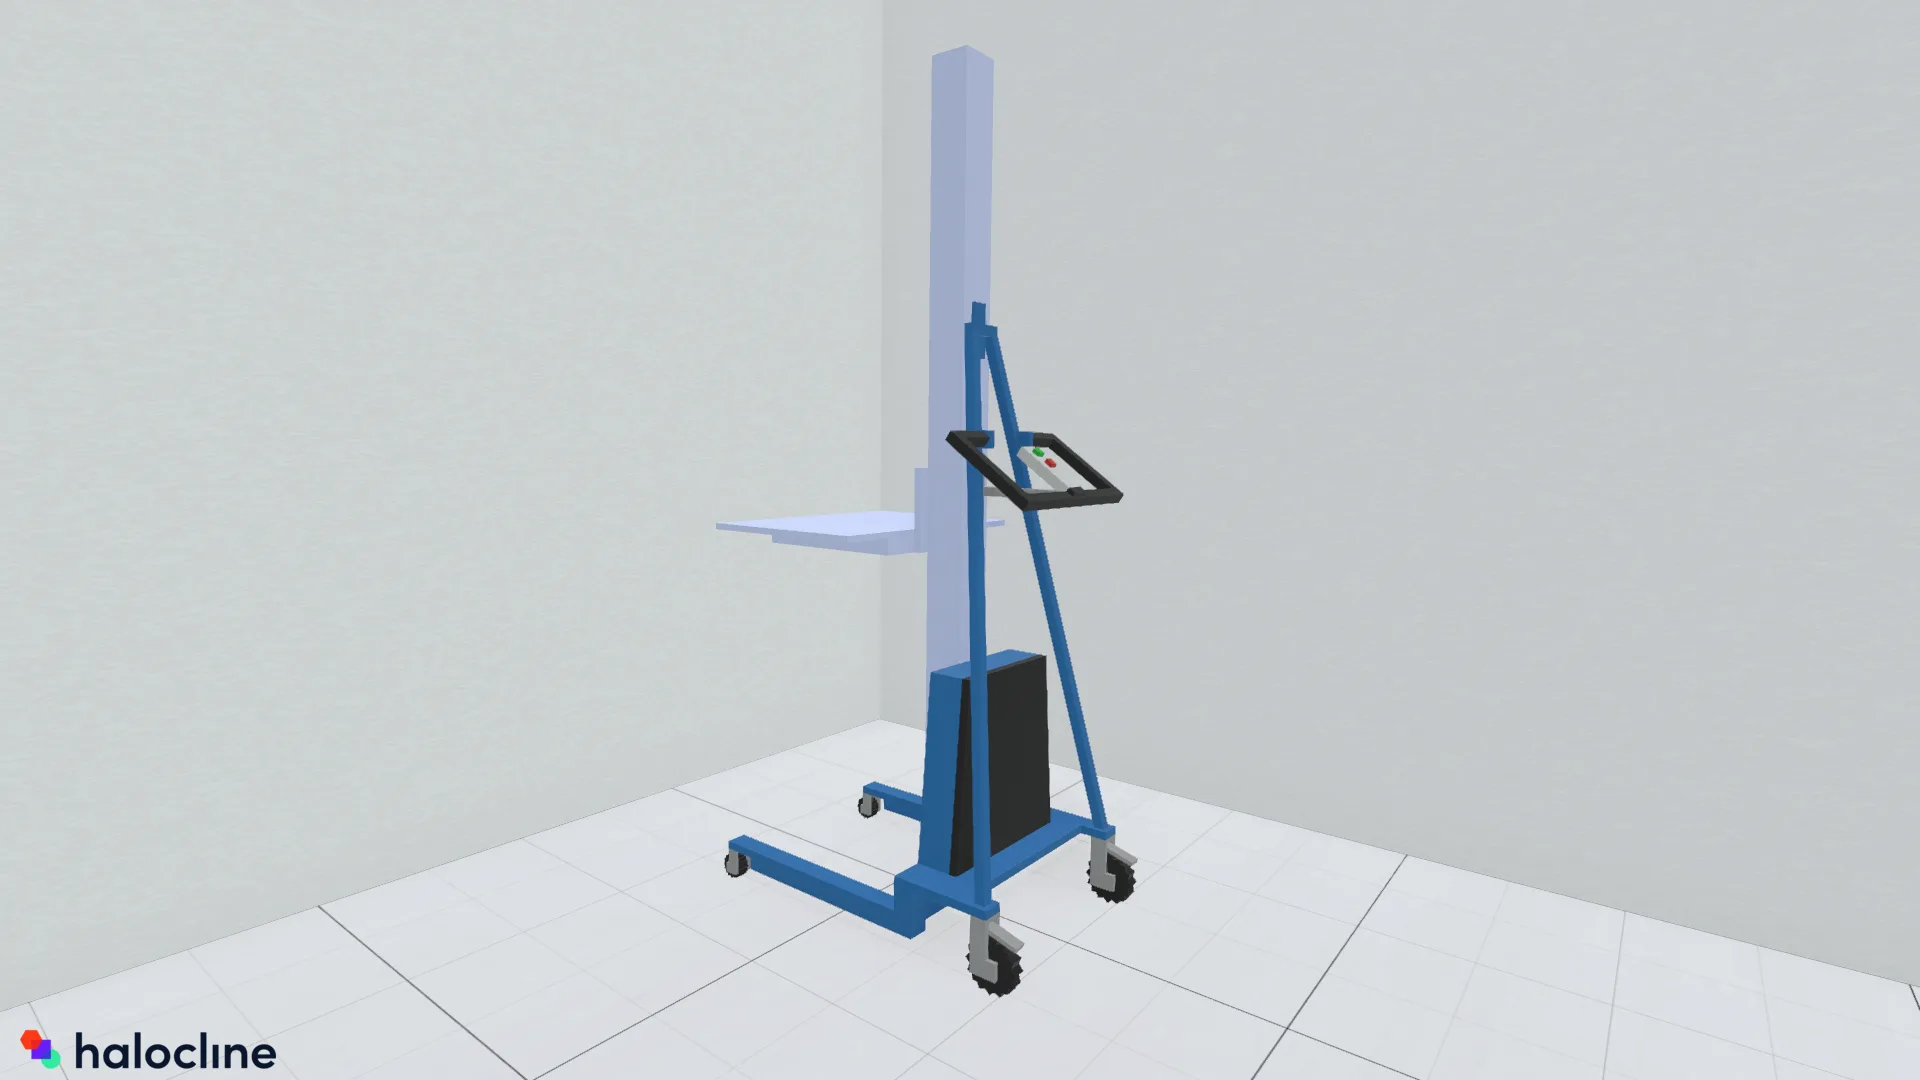
Movement Constraints
- If movement constraints are needed (e.g., limiting a material lifter’s fork to the Z-axis), set them at this stage. Learn more here about movement restrictions.
Adding to Local Library#
Naming
- Name your element as you like.
You can also change the name after adding it to your local library.
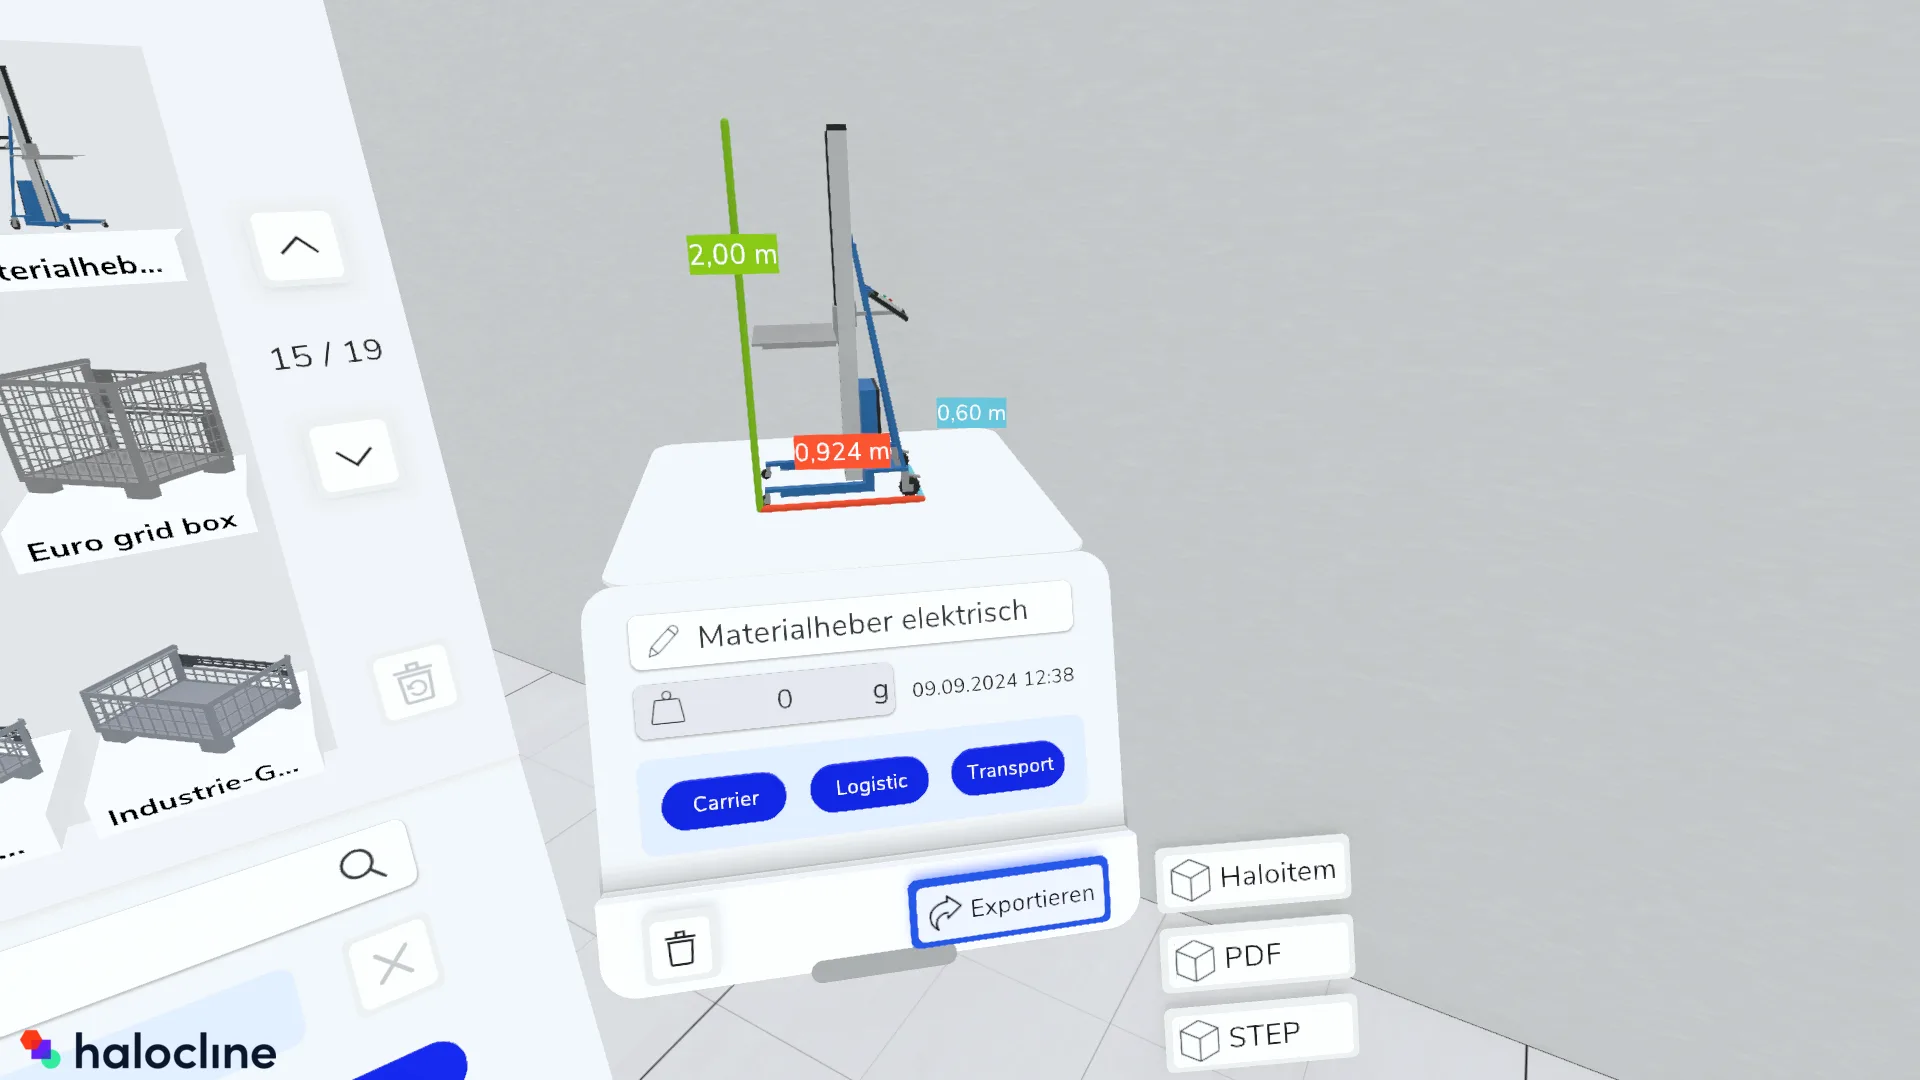
Adding Elements
- Stand in front of the library item, while adding it. This is the orientation in which it will be saved in the library.
- Select the element, click “More” in the context menu, and then click “Add to Library.”
Tags
Select the tags you want and drag them onto the item's details view to assign them.
|
|
Duplicating
- If you also want a version of the library item in a different language, you must save the item again in the library. Change the name and add the appropriate tags again.
Exporting Elements#
- If you want to use or share the library objects outside of Halocline, you can export them from the library as a haloitem, PDF, or STEP file and save them in a central location of your choice. The exported data is stored by default in Documents/Halocline/Export.
Related to