Filling load carriers with parts
1 min read
- Desktop
Function#
Created objects and imported CAD files can be placed in a load carrier in Halocline Layout and assigned to it in this way.
Instructions#
Select the object you want to assign.
Make sure that “Interaction in Performance” is activated in the context menu. For boxes, you can also recognize this by a dotted texture.
Then place the object in the load carrier using the “Move” function of Adjust.
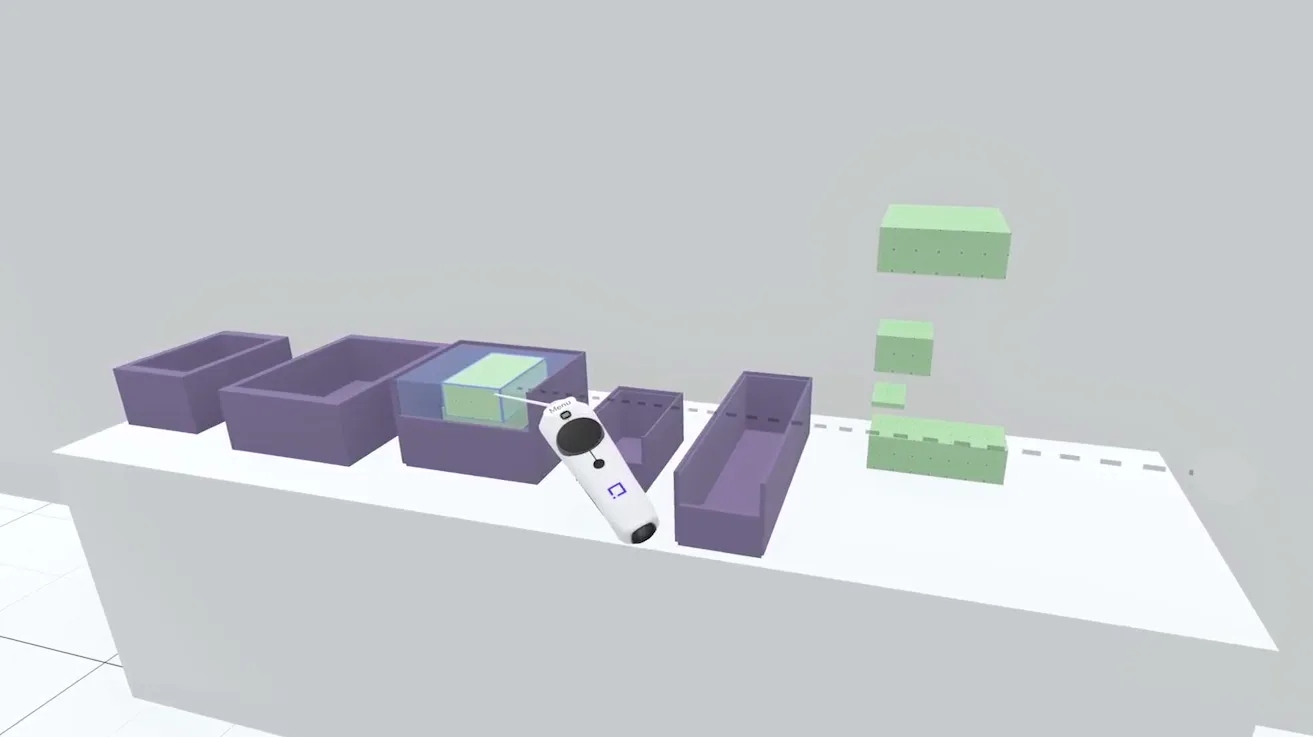
Assignment only takes place if the load carrier is large enough. If the carrier is red, the part will not fit. If it lights up blue, the component can be assigned. Just let it go in the carrier. If you have named the part before, the name of the object will be displayed on the carrier.
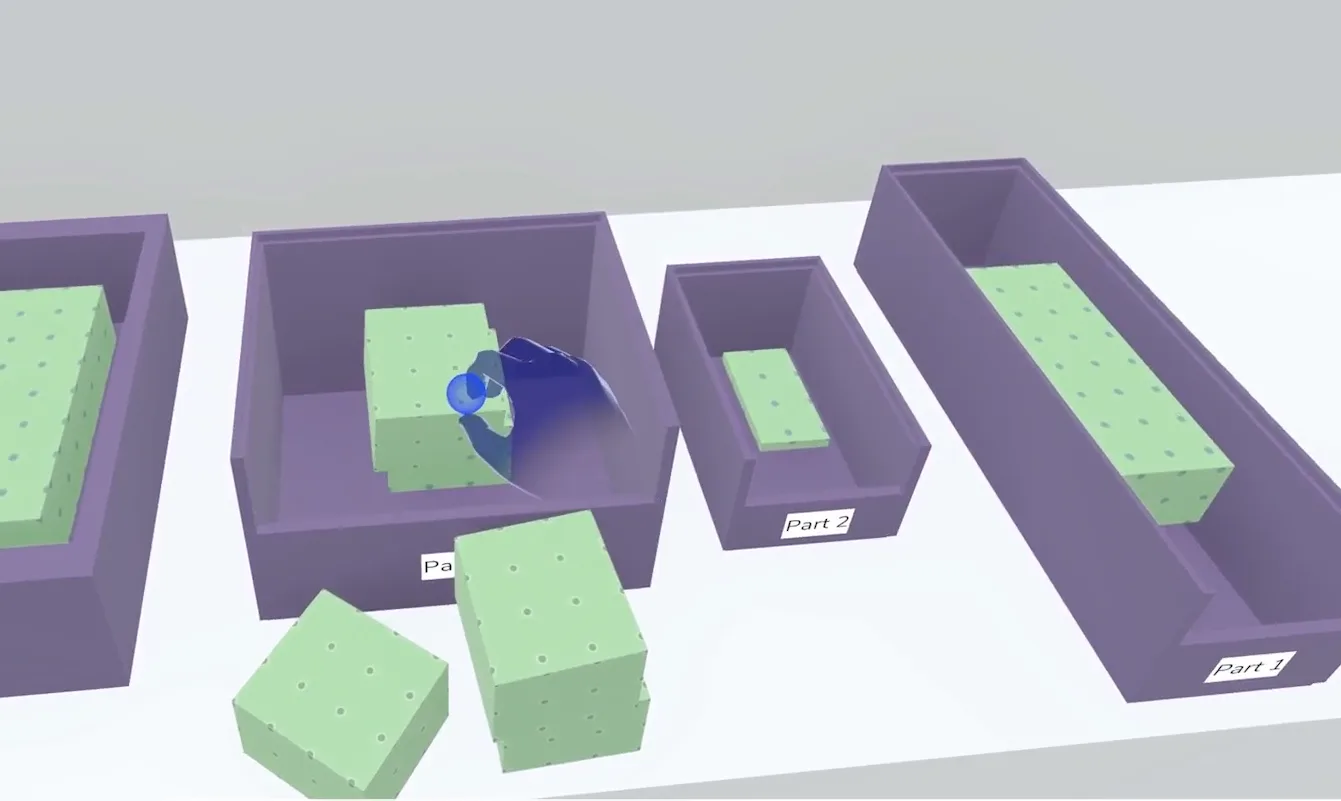
If you then switch to Halocline Performance, you can now remove an infinite number of parts from the load carrier.
Unassign part#
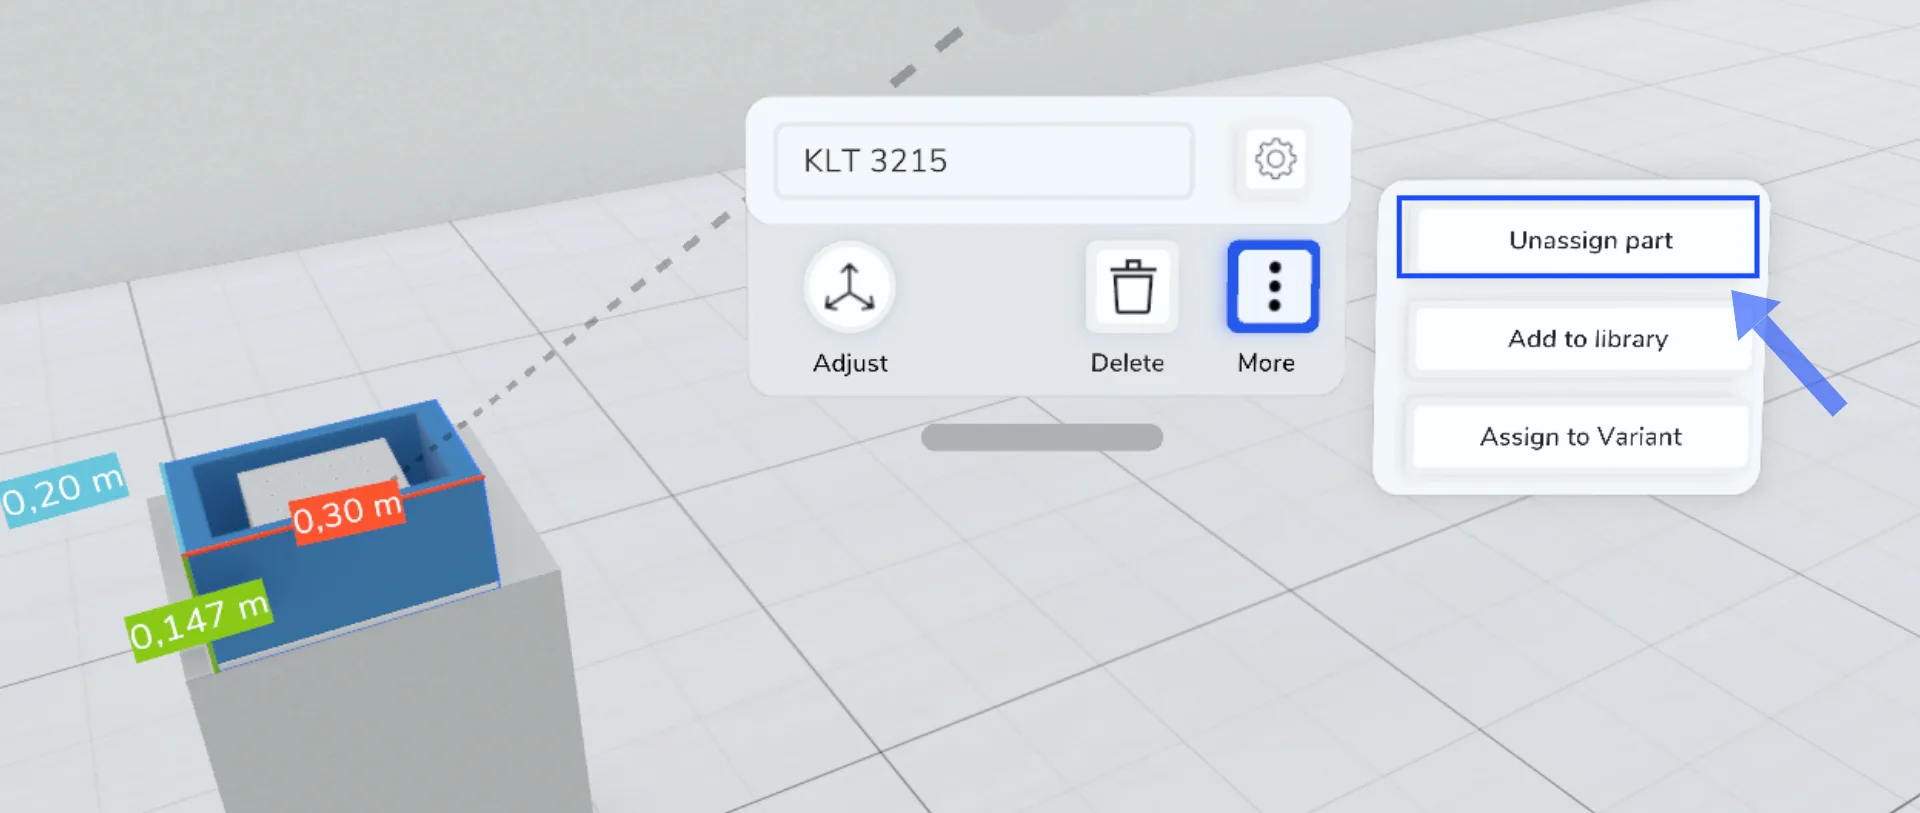
To detach the object from the load carrier again, select the load carrier and click on More and then on "Unassing part" in the context menu.
Related to