Creating objects from point clouds: from scan to replica
3 min read
Available in
- Add-On Point Clouds
- Desktop
Use point clouds as 3D templates to transfer the current status of hall areas or systems precisely and quickly to Halocline Layout. This article explains the general procedure. You can find detailed instructions on the individual functions here: Importing point clouds as 3D templates
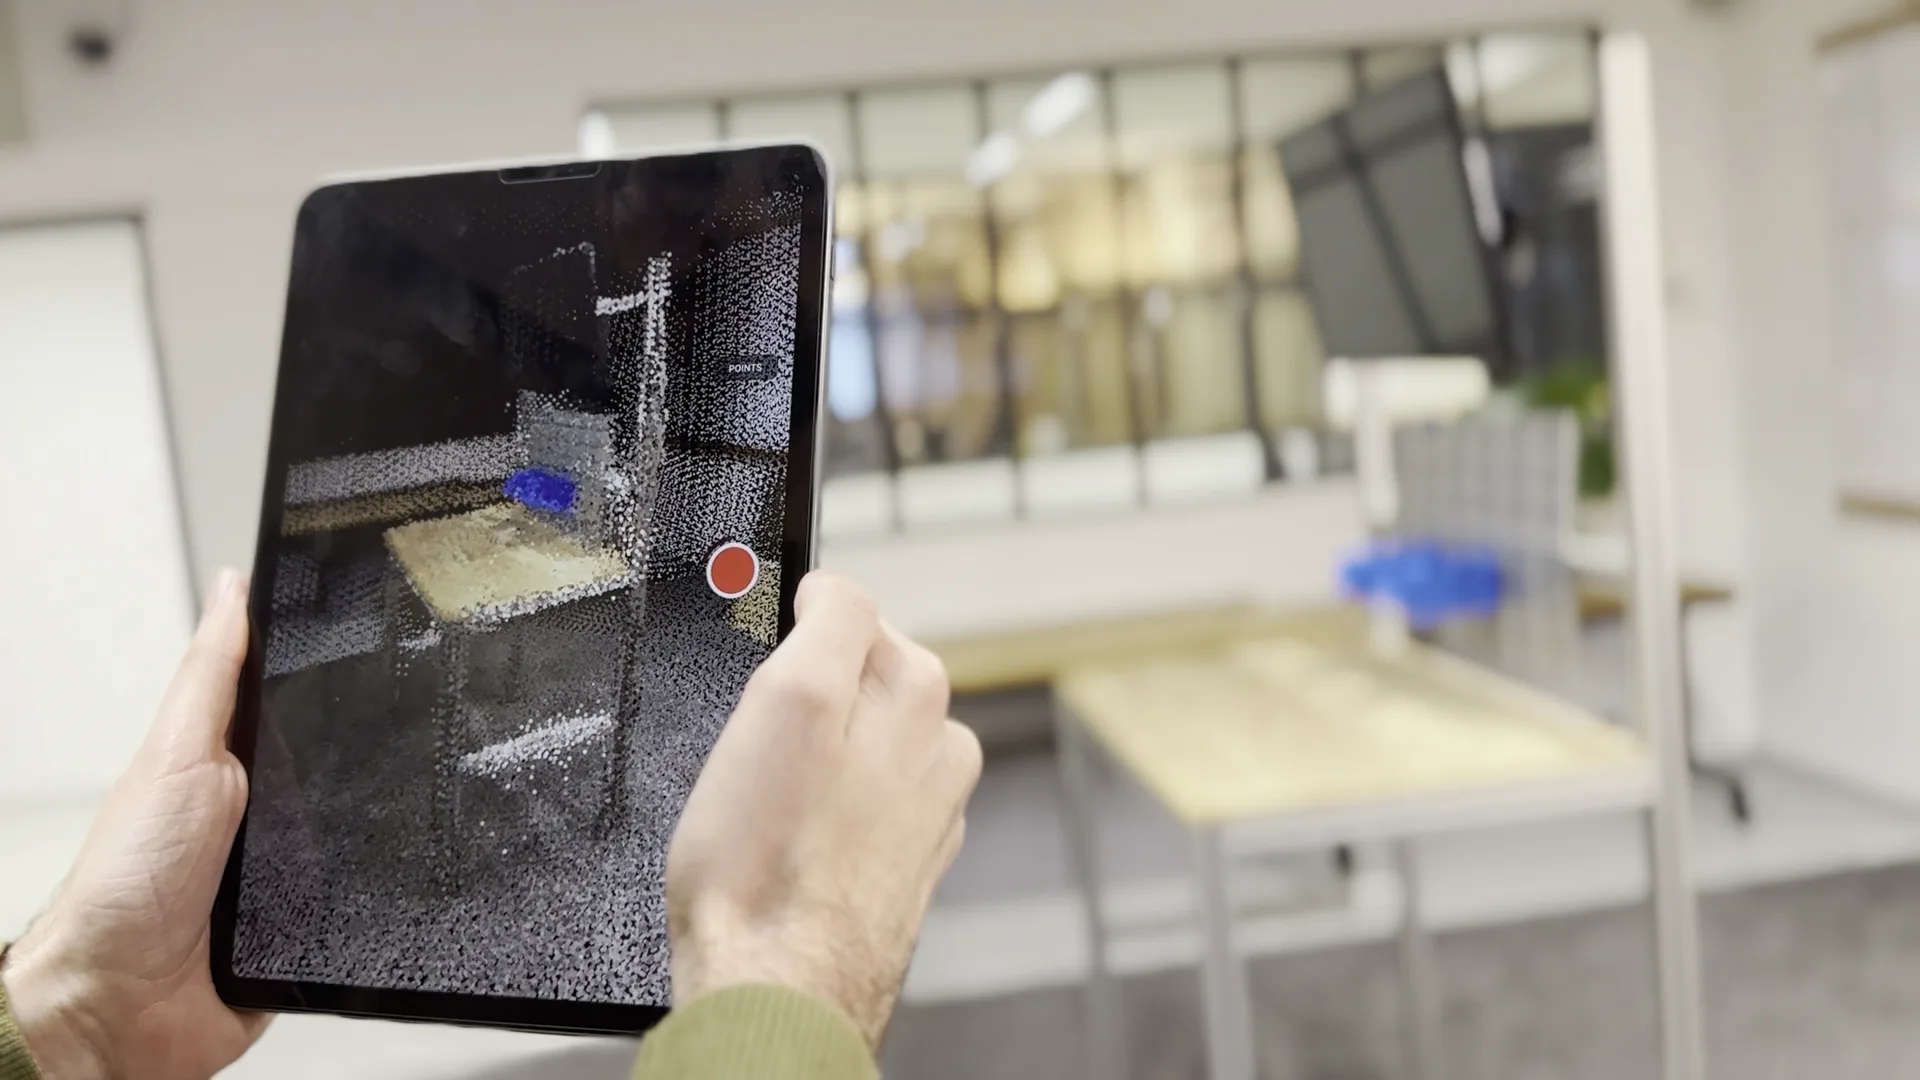
Record#
- You can now easily record point clouds with an iPad.
- For larger, more detailed areas, you can also commission a service provider or purchase a laser scanner yourself.The advantage here is obvious: the scans are more detailed and can usefully map a larger area.This is offset by the much higher (investment) costs and the increased effort involved.
- Details on creation can be found here: Create point clouds with an iPhone or iPad
- In addition to recording just the point cloud, it can be helpful to take photos. This makes it possible to look up individual details later in Halocline. You can find out more about using photos here: Notepad in VR
Import#
- Before importing, it is advisable to reduce the point cloud to the relevant areas. Large point clouds should be divided into several sections. This makes it easier for you to work with the point clouds and ensures good performance in VR.
- Import the prepared point cloud in the Layout tab using the Import button.
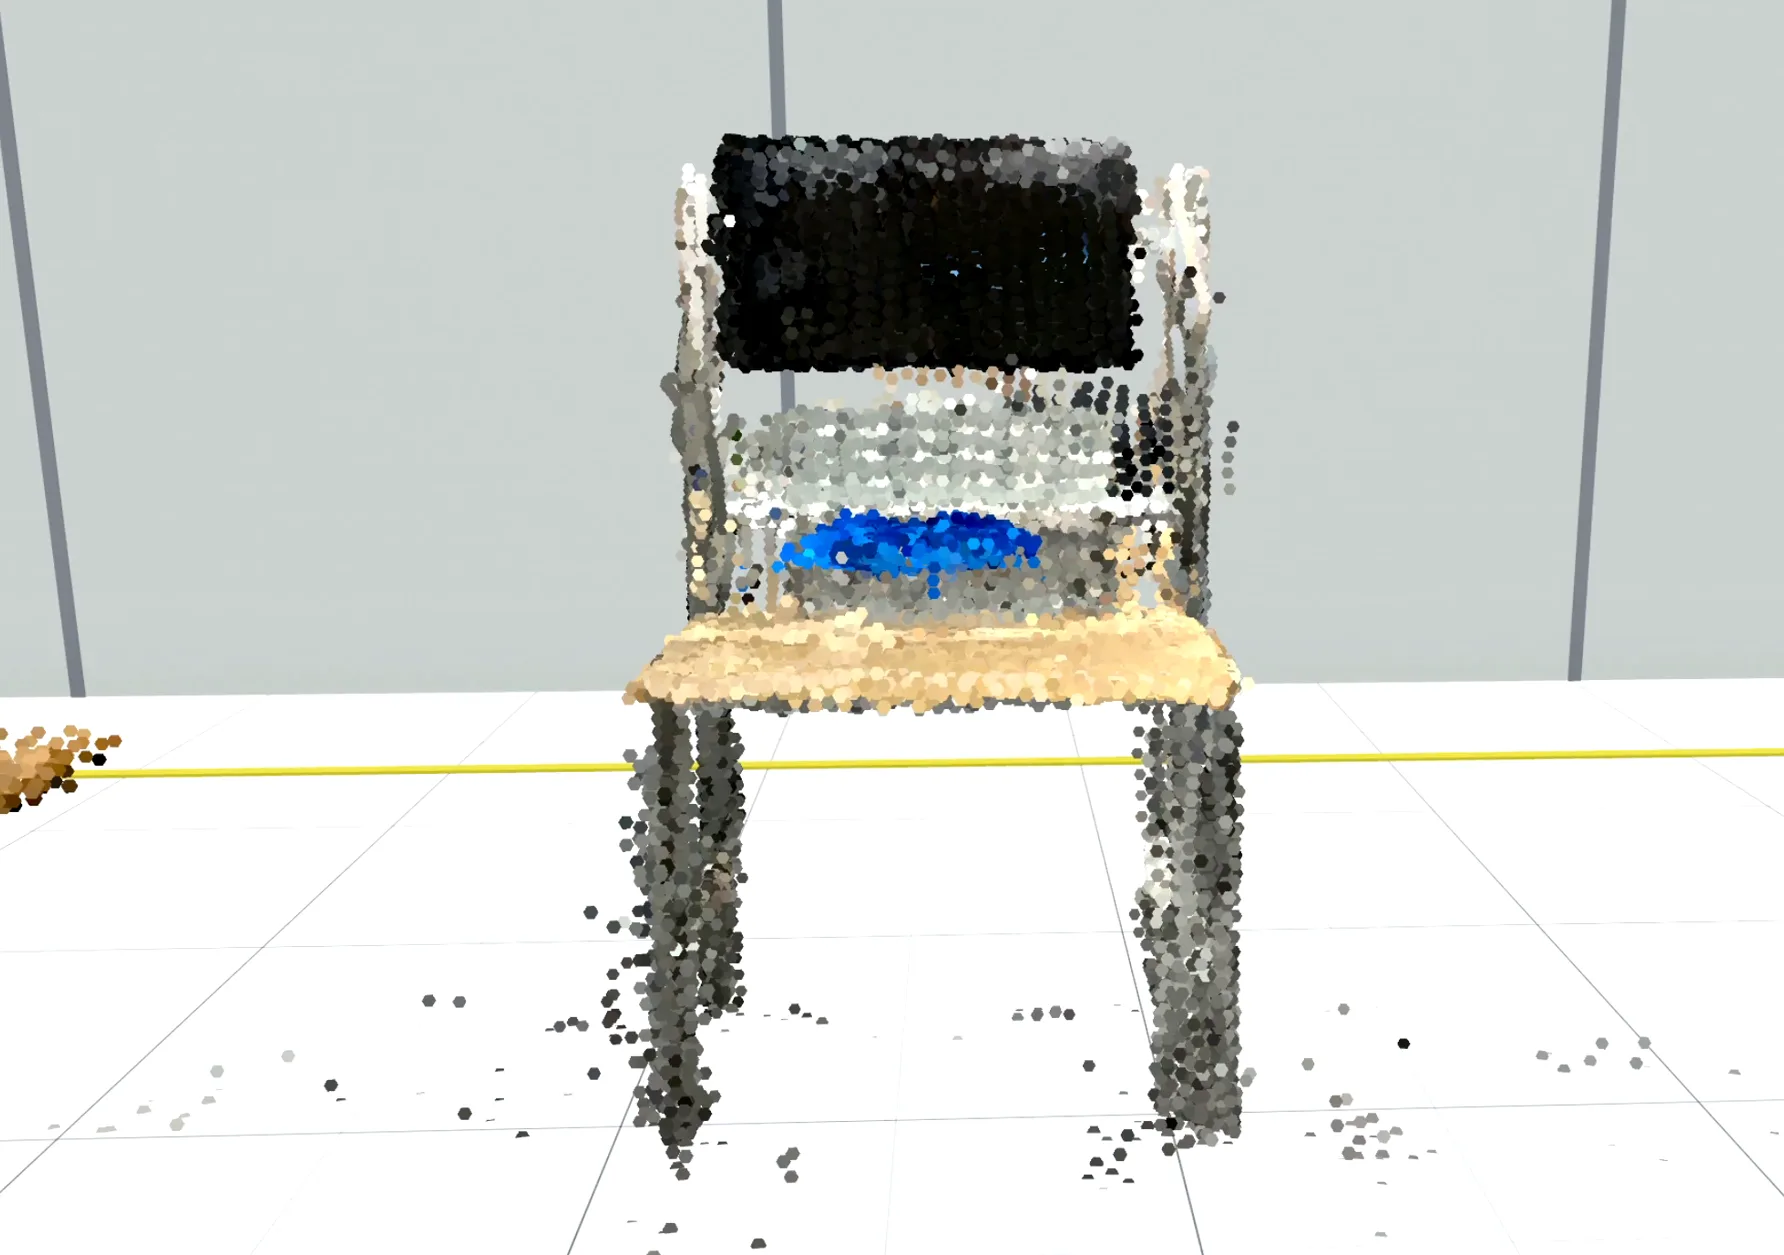
Selection & Placement#
- Start the shopfloor in Halocline Layout in which the point cloud is to be recreated.
- Use the teleport function to move to the approximate location where the point cloud is to be placed.
- Select the point cloud from the menu in the 3D template window.
- Use the "Place" button to align and move the point cloud.
- Align the objects as straight as possible to the grid on the floor.
- To do this, you can set the angle grid to 1° in the settings menu. See here for more.
- If necessary, check the dimensions with the measuring tool to make sure that the scaling of the data is correct.
- For a better overview, you can name the point cloud in the list view according to the shopfloor in which you have placed it.
Rebuild#
Shopfloor section#
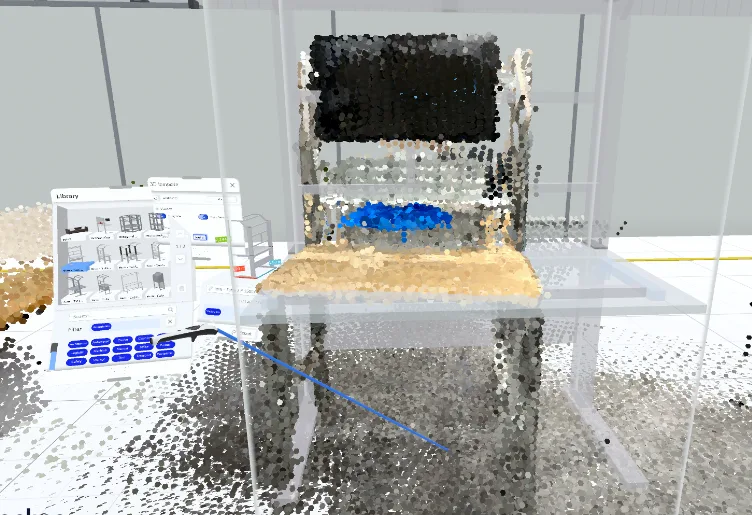
- Standard objects from our online library can be used to recreate larger sections. Import them into the library and place them in the point cloud
- You can then adjust them to your point cloud using the adjust tool.
Equipment & machines#
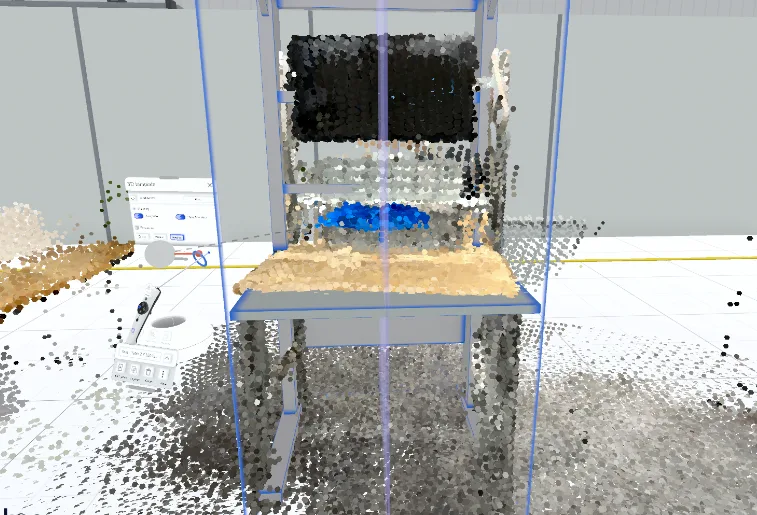
- The Create Box tool helps you to recreate individual objects in detail.
- It is useful to save photos of the original structure in the notepad to look up what is behind it if the point cloud details are unclear.
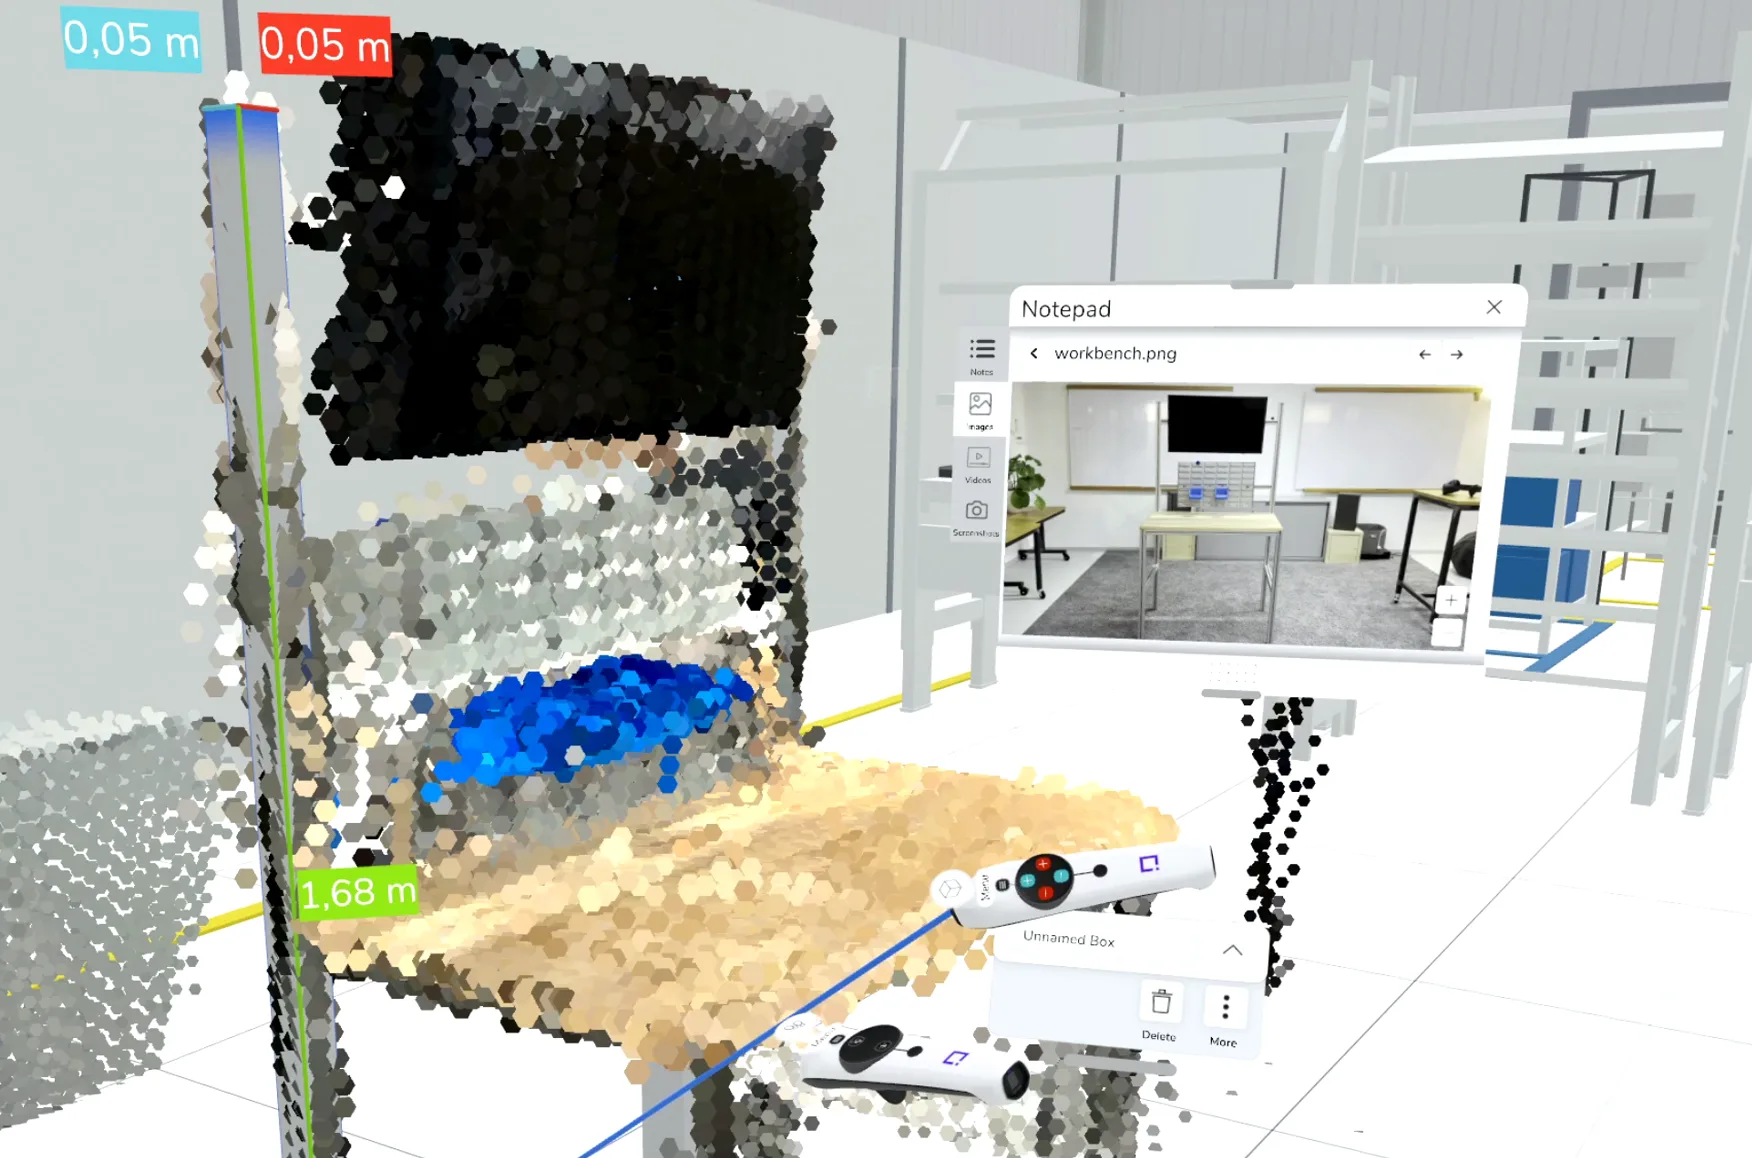
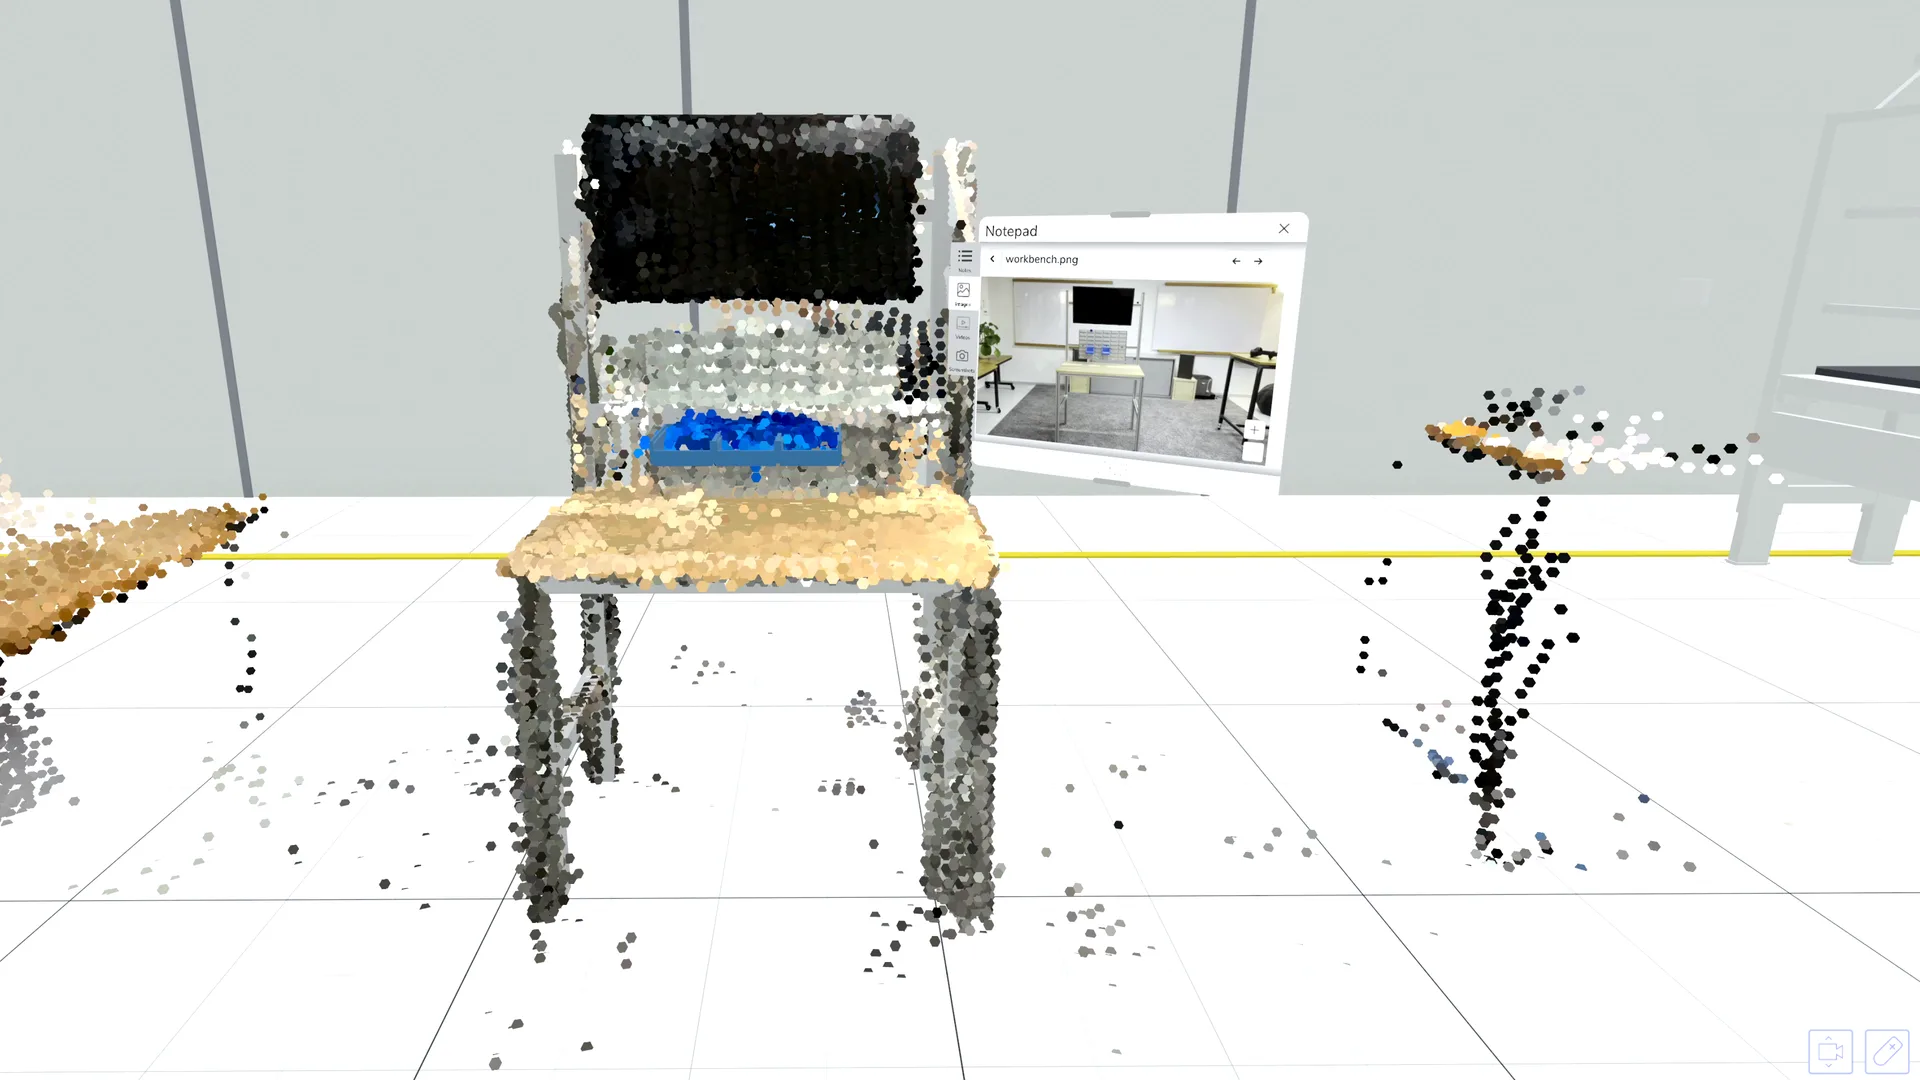
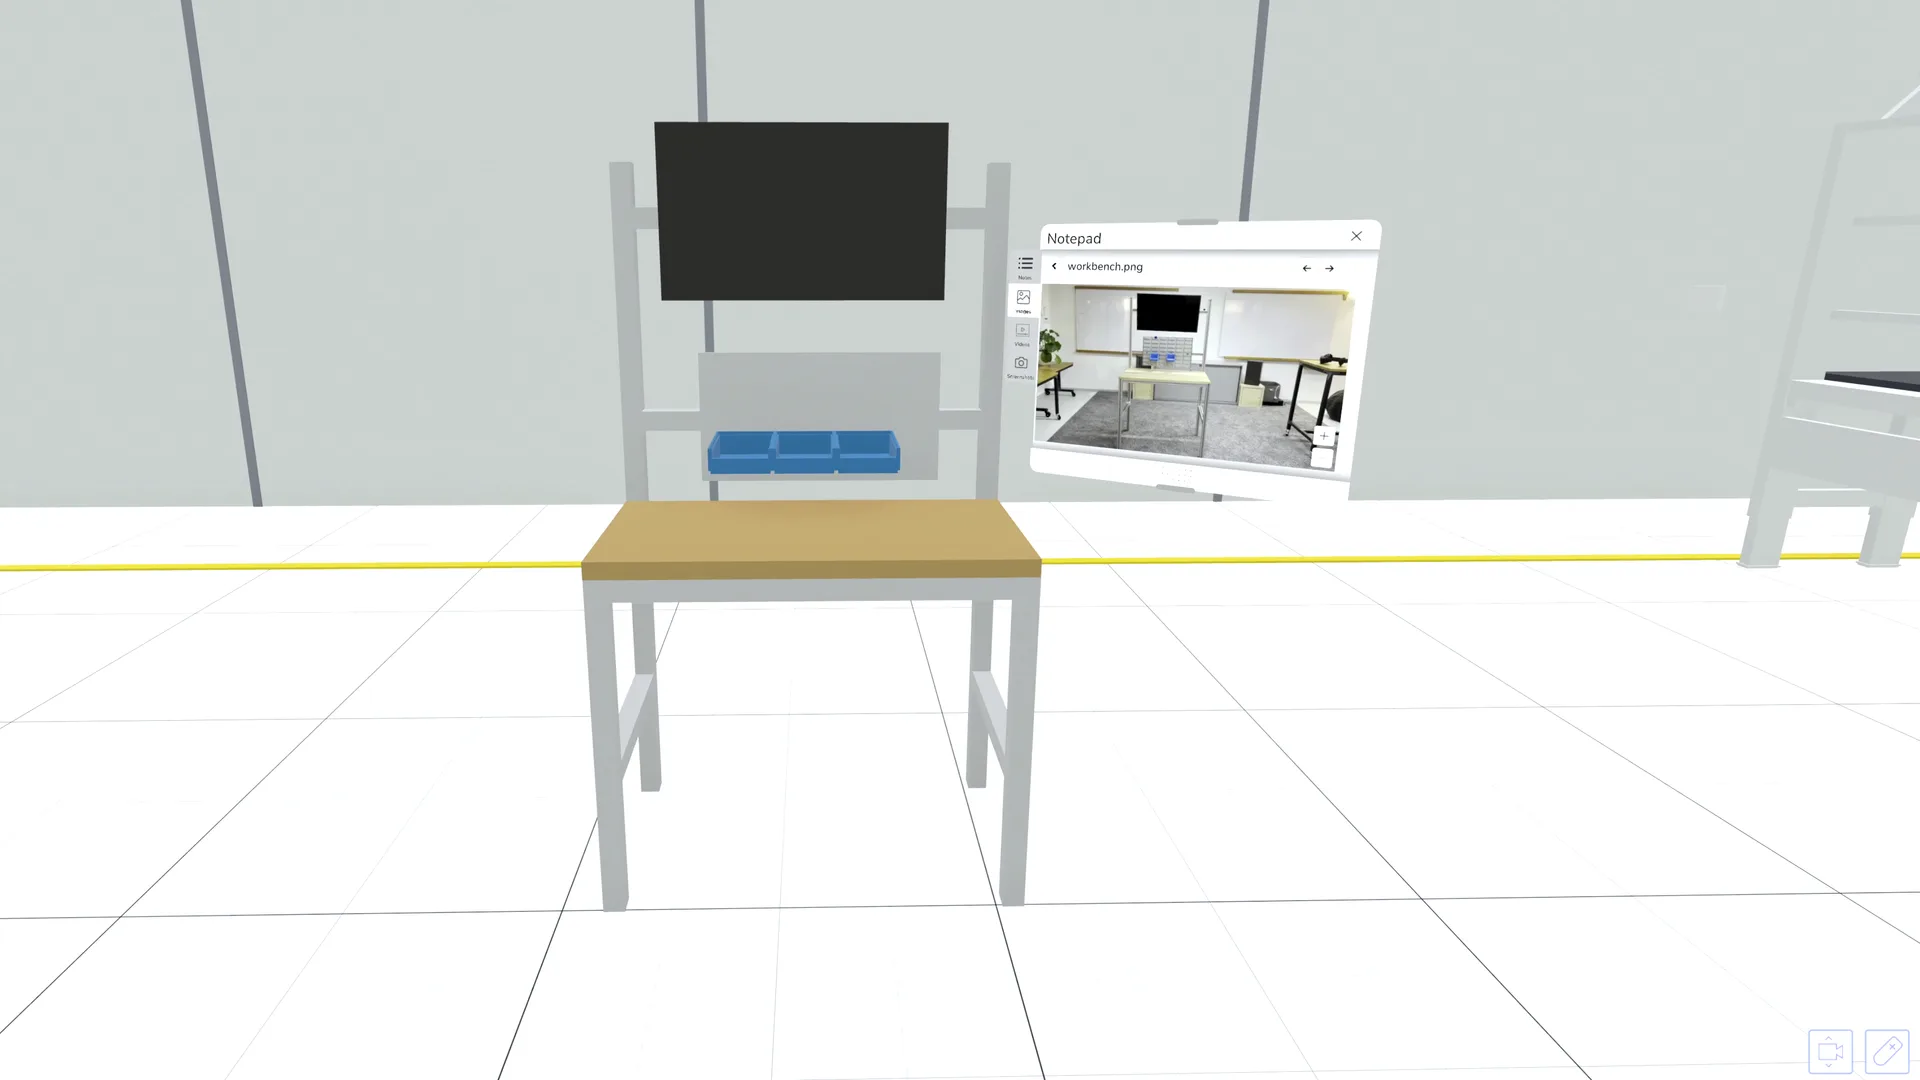
- Use the show/hide function to recognize hidden geometries. This allows you to check your replica or look up details in the point cloud without obscuring them.
Removing the point cloud#
- After completing the reconstruction, you can mark the point cloud for deletion to maintain an overview.
- It will be permanently removed when you close the application.
Using the results#
- To rebuild on the actual state, make a copy of the built variant.
- Use the copy to make your planned changes to the actual state
- You can then compare your new variant with the actual version at any time, making it easier to see and communicate changes.
Related to