Layout tab on the desktop: managing shopfloors, starting VR
2 min read
- Desktop
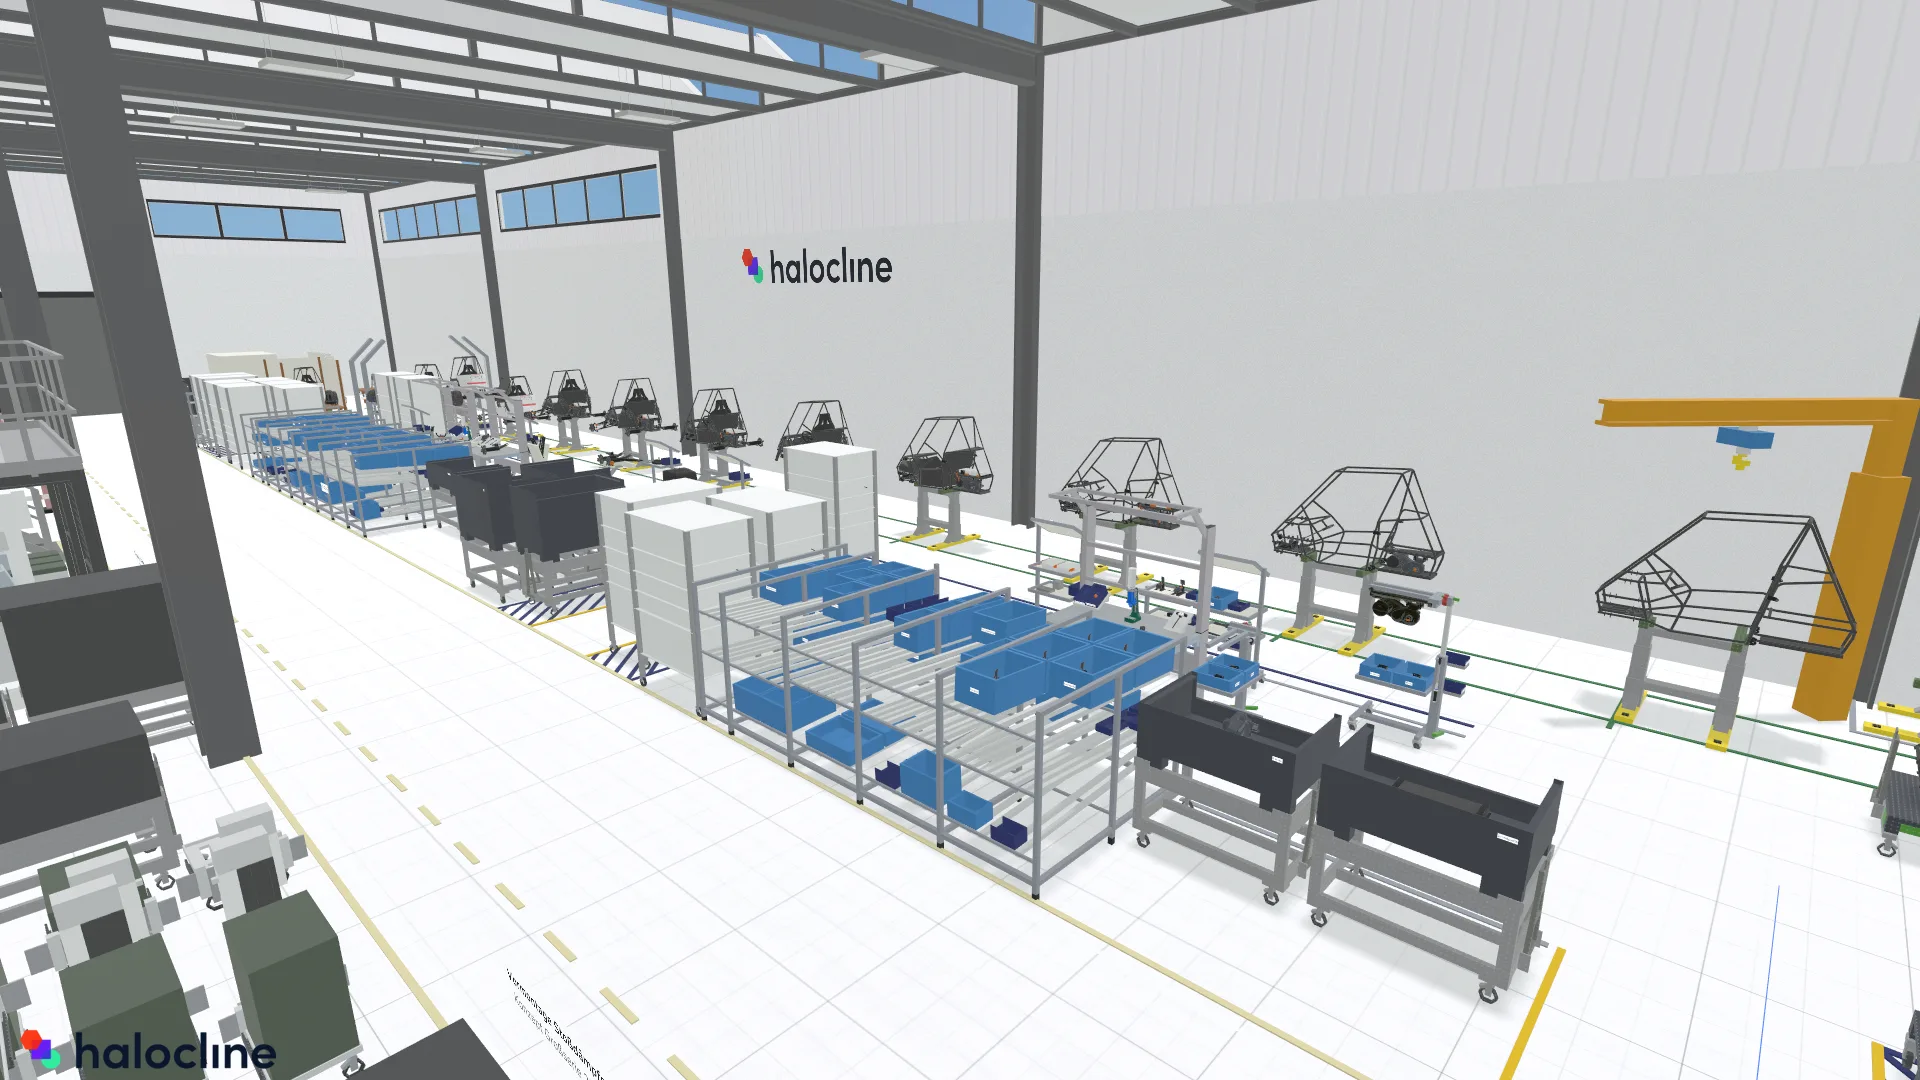
In the Layout tab of the desktop application you create and manage your shopfloors. From here you start the VR application of Halocline Layout, where you place and edit objects in your shopfloor. To do this, first select the data you want to edit.
You will find the Layout tab at the top left of the desktop application.
Select shopfloor#
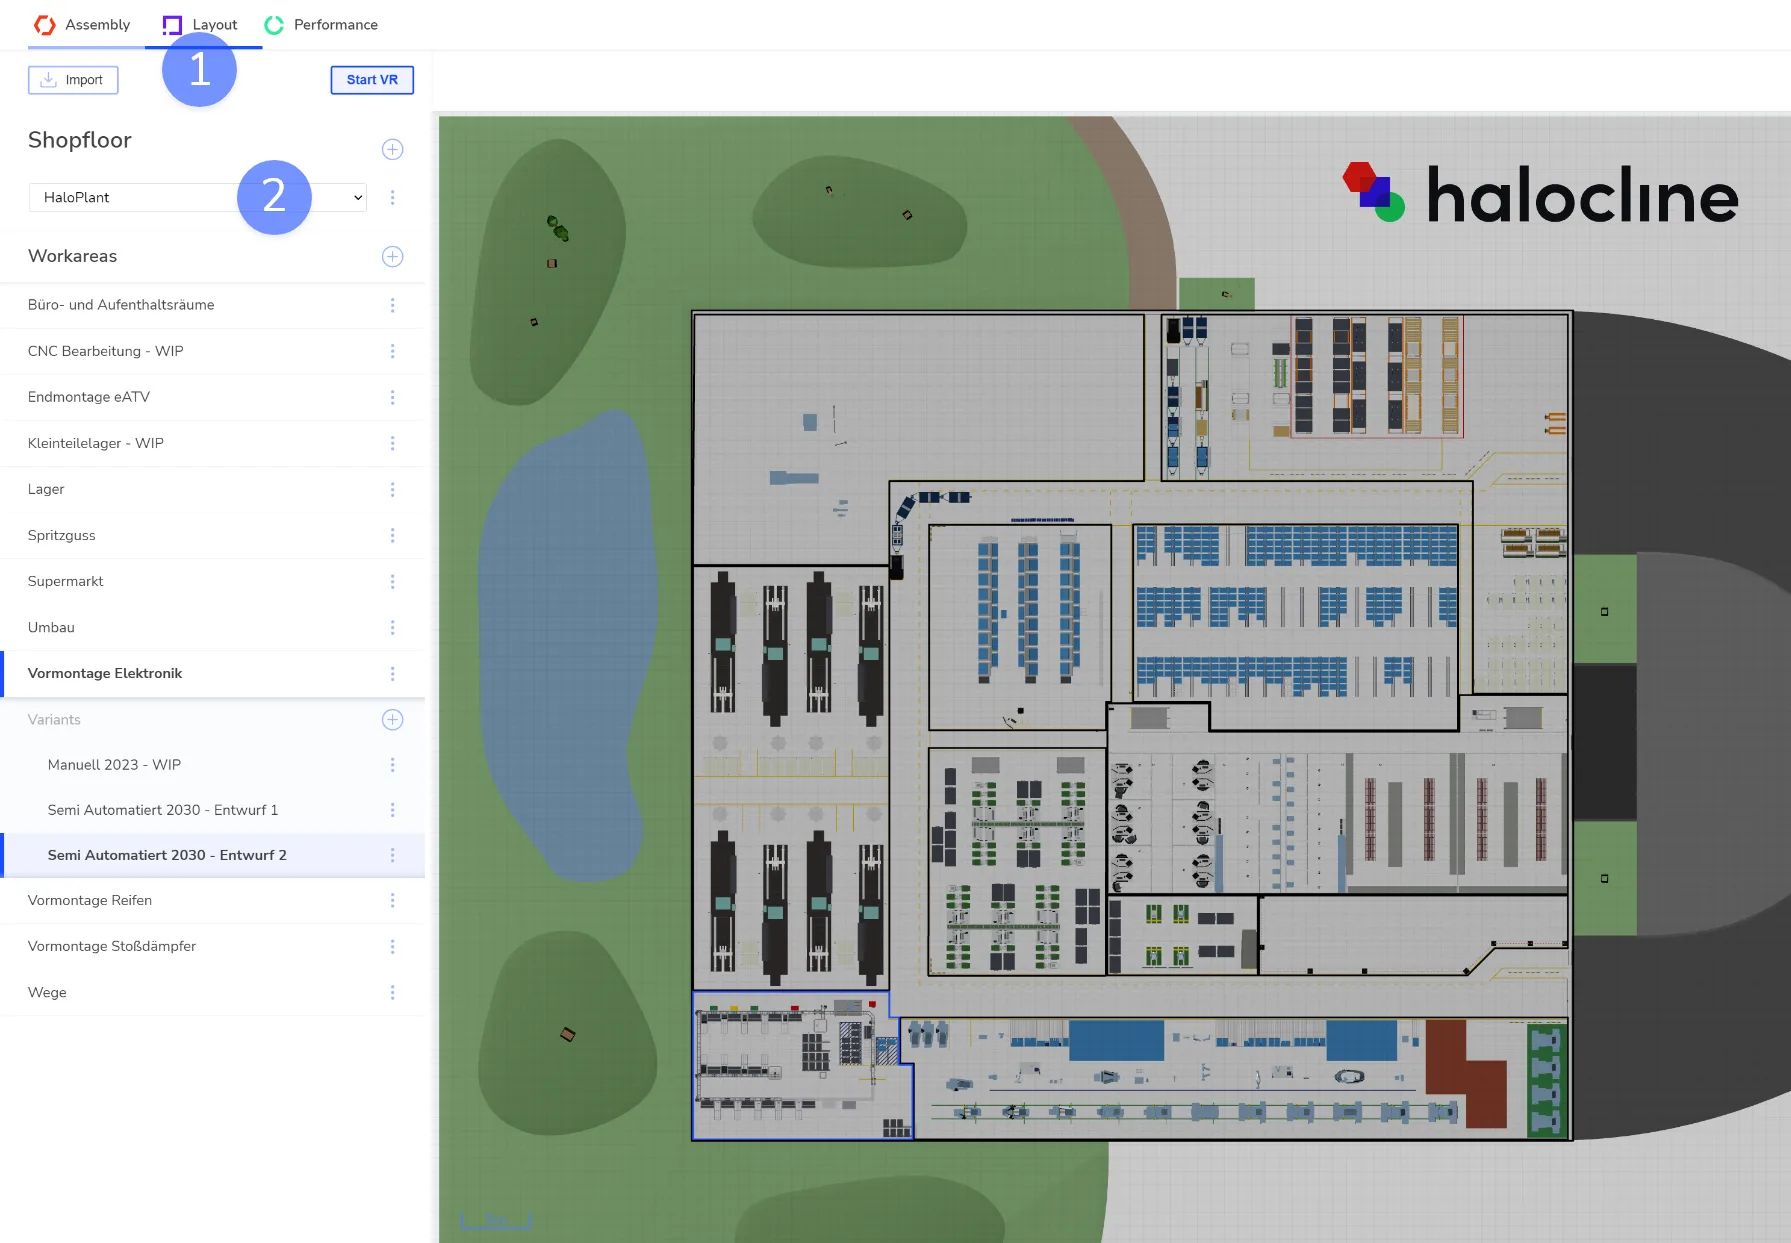
- In the desktop application, select the Layout tab.
- Use the drop-down menu to select the shopfloor you want to open.
A preview of the shopfloor appears on the right. Its work areas are listed below on the left.
To create your own shopfloor, read the article Create Shopfloor.
Select work area#
Active work area#
In VR, exactly one work area is active at a time. You can edit it, and all your changes are saved in this area.
All other areas are visible but displayed in simplified form. You cannot interact with inactive areas. So first select the work area you want to plan in. Later you can change the area in VR at any time.
Selection#
There are two ways to select the work area:
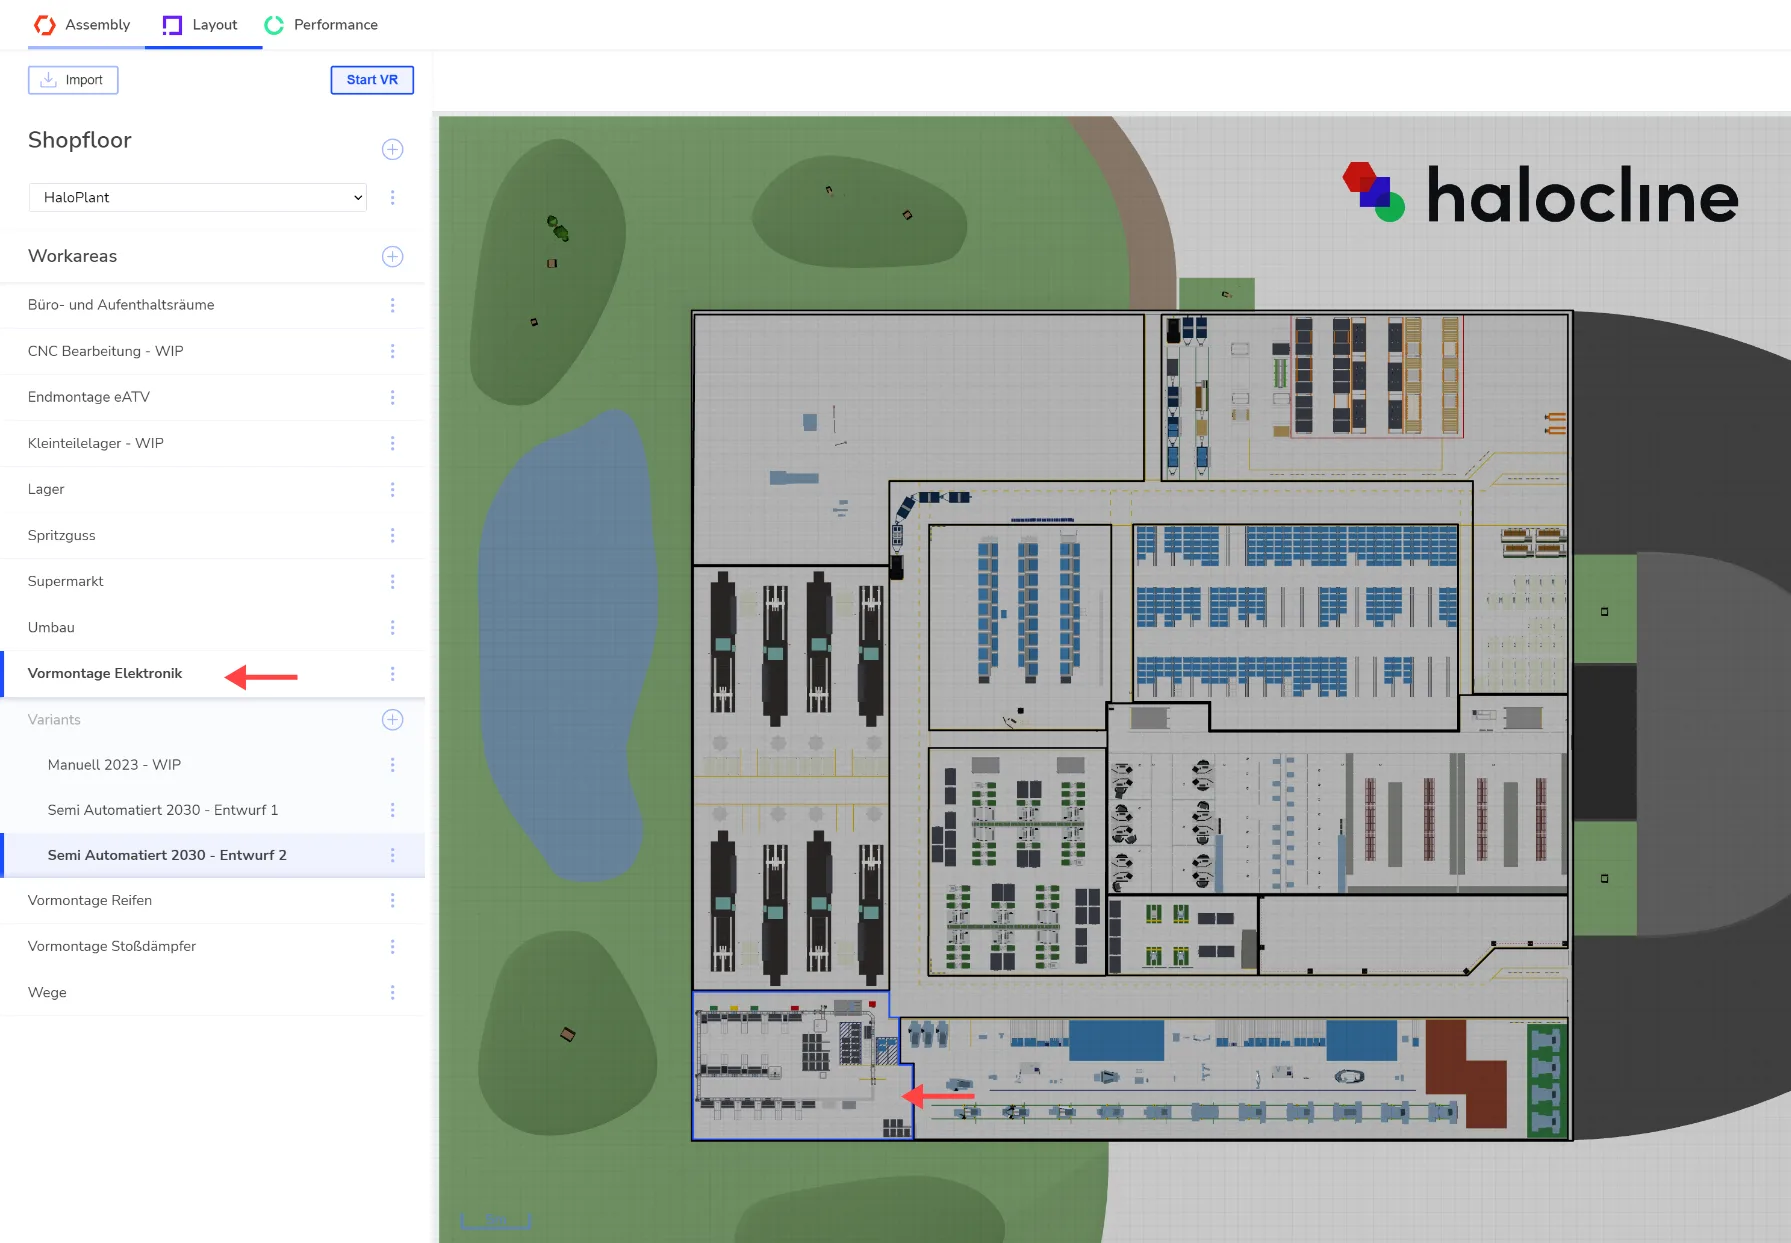
- List: Click the name of the work area in the list on the left.
- Preview: Click the area in the preview on the right.
Select variant#
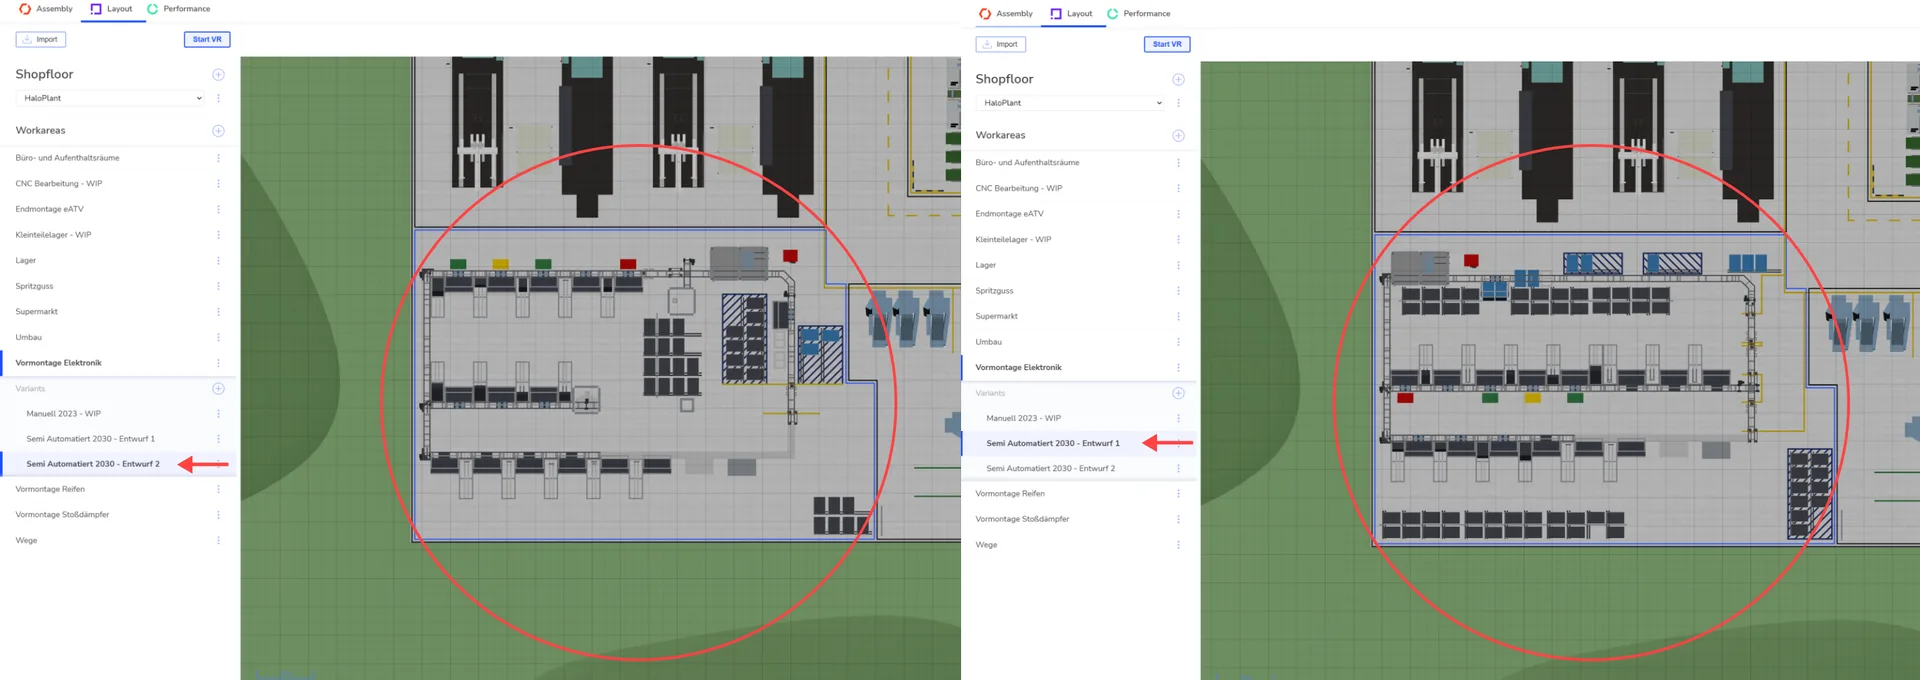
In the list, the variants of the selected work area appear below it. In the preview and in VR, only one variant per work area is displayed. You can select the other variants at any time, but they are not displayed simultaneously so that nothing overlaps.
Click the variant you want to edit in the list. The preview then shows its content.
Start VR or desktop#
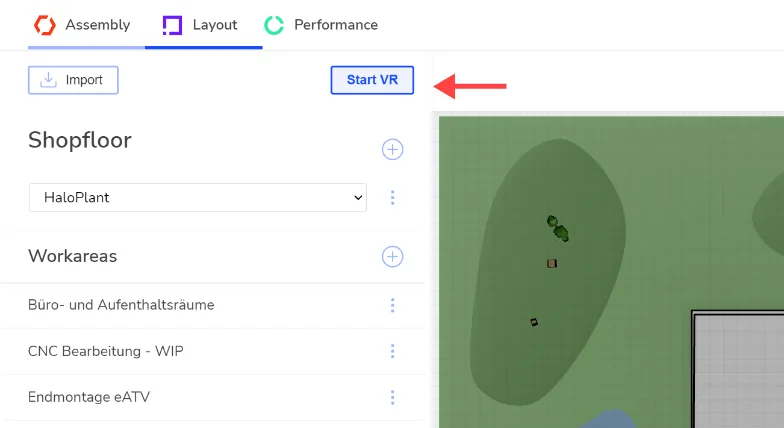
For VR: make sure your headset is connected and ready to use. Then click the blue Start VR button at the top left. The VR application opens in a new window. Put on your headset to start planning in VR.
Without a headset, click Start Desktop instead.
You start in the variant you selected, and all changes are saved in this variant. You can also select other work areas directly in VR or on the desktop.
More functions#
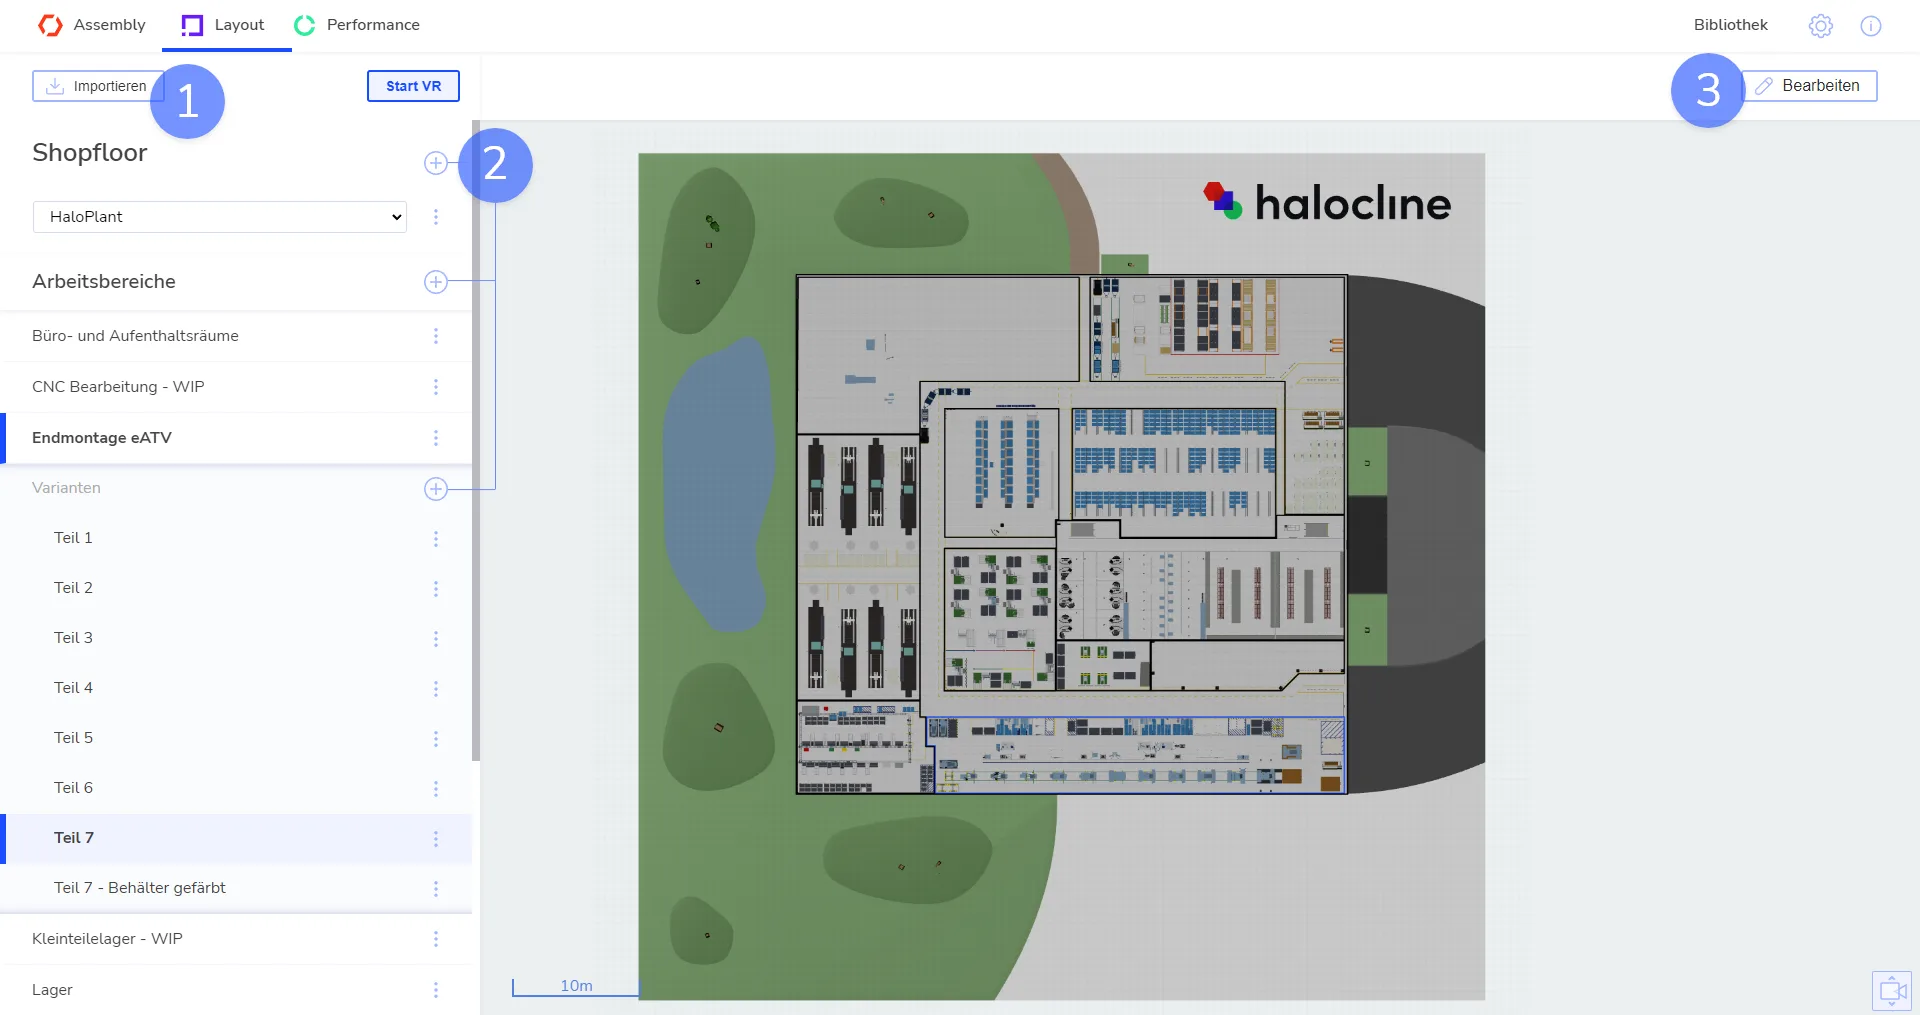
Import#
Click Import to import further shopfloors, work areas, variants or recordings in Halocline format. Depending on the file type, a dialog then asks where the file should be inserted.
Create#
Use the plus symbols to create a new shopfloor, work area or variant on the respective level.
Edit#
Click Edit to edit the selected variant in the top view. Here you define the outline, position and starting point.
Next steps#
Use our tutorial to learn the basics of Layout: Tutorial Halocline Layout & Performance
Related to