Recording and editing videos from Halocline
6 min read
- Desktop
This article will give you a quick overview of how to create video content in Halocline. It's a great way to present your use cases and created data in a high-quality way.
This article gives you an overview of
- which video programs you can use to create recordings in Halocline
- which presets you have to set before recording in Halocline
- which camera perspective you can use in Halocline depending on your application
- which program you can use to edit your video.
Recording with the Windows Standard Tool#
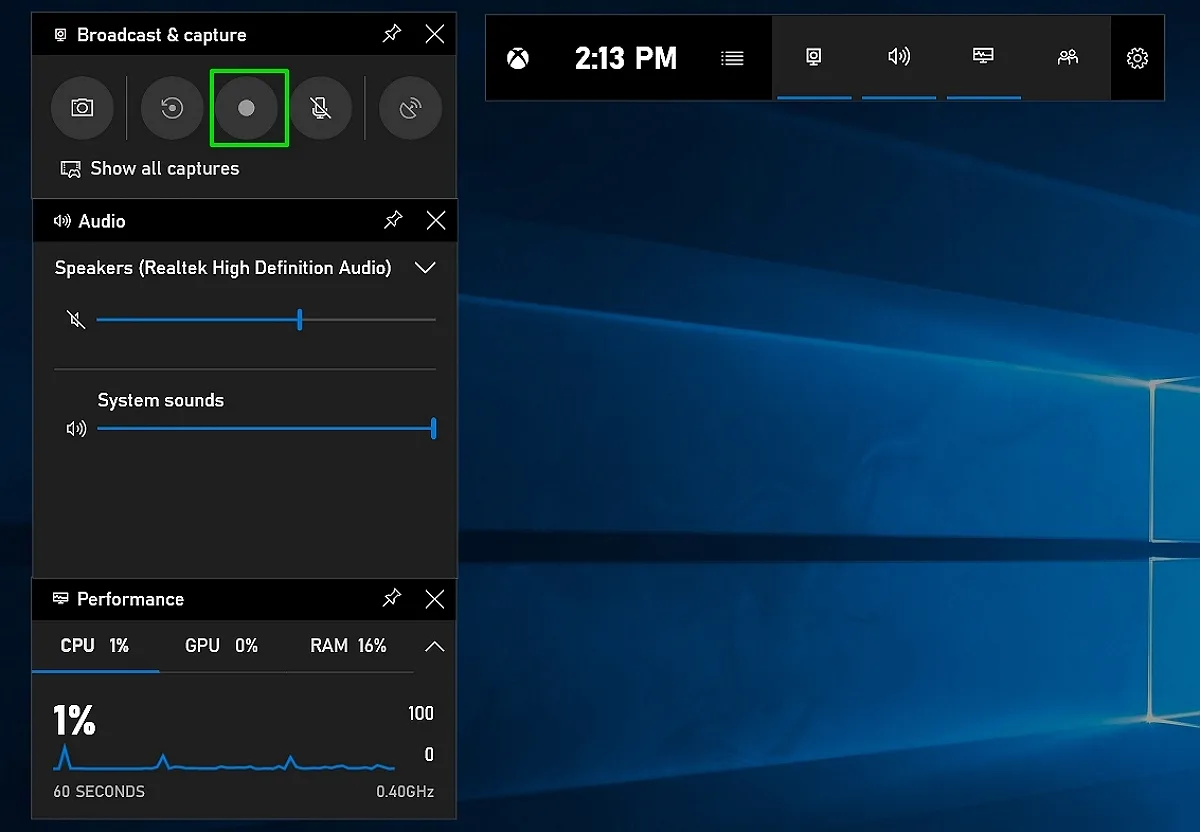
To create video recordings with the Windows Standard Tool, please follow the steps below:
- Open the Windows Standard Tool via the key combination "Windows key" + "G".
- Now click on "Start recording" to start the video recording. Your complete desktop screen will be recorded 1:1.
- To stop recording, click on the same recording icon again.
- Click on "Show all recordings" to view your recording. This function is located in the row below the play icon
- Alternatively you can find the recordings in the following directory C:\User\User\Videos\Recordings
Recording with OBS-Studio#
OBS-Studio is an open source software that you can use for recording and streaming (live broadcast). OBS-Studio allows you to conveniently record screencasts including screen recordings (e.g. from the software), camera image and sound.
To use OBS-Studio, download OBS-Studio here and install it on your computer. Instructions for recording with OBS-Studio can be found here: Wiki - OBS Studio Quickstart | OBS.
Notes on recording with OBS Studio:
- Select the "Screen recording" as the recording source.
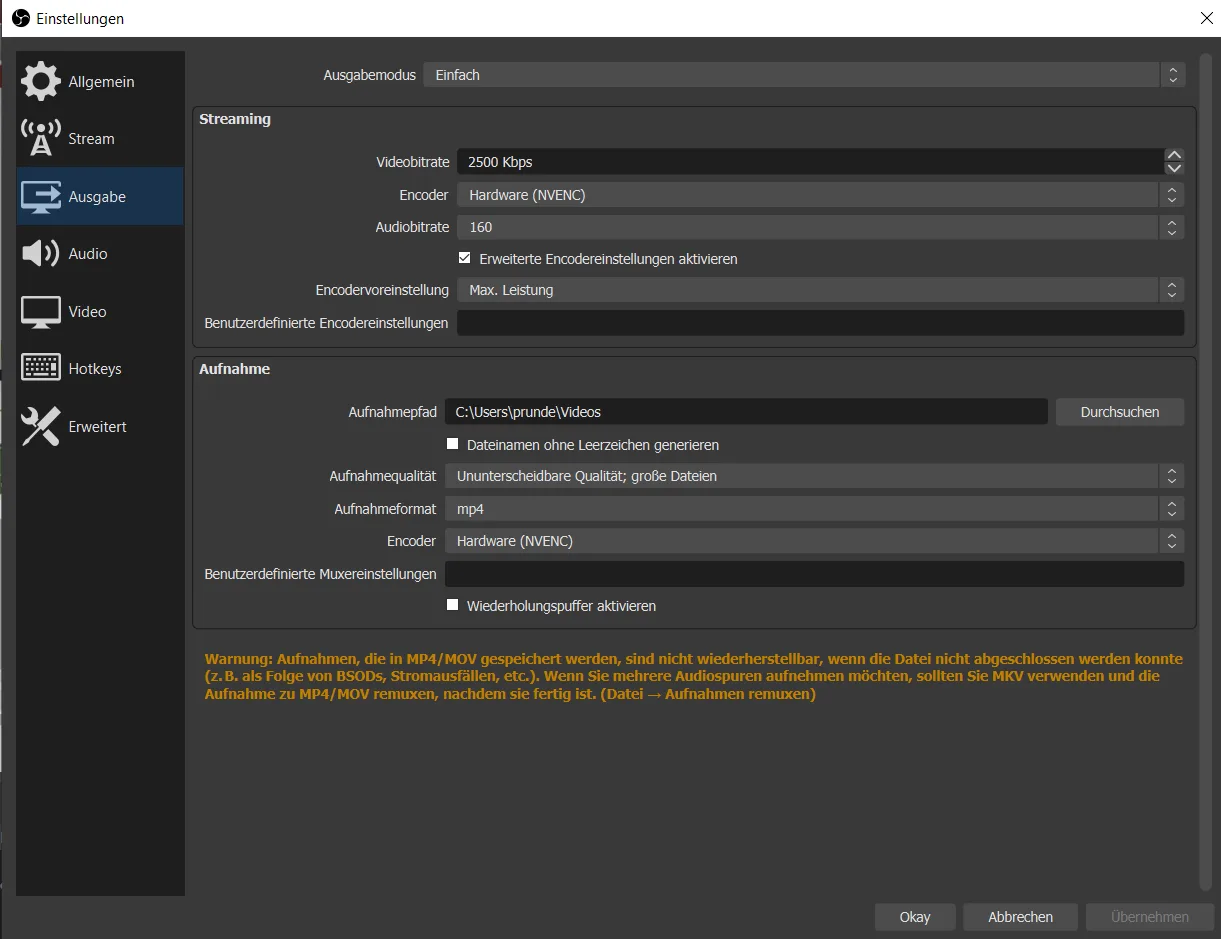
- Check the settings of the recording under the menu item "Output". Here you can select the location of the recording, the recording quality as well as the recording format
- Then you can start recording by clicking on "Start recording" at the bottom right. You can see from the red light that the recording is running.
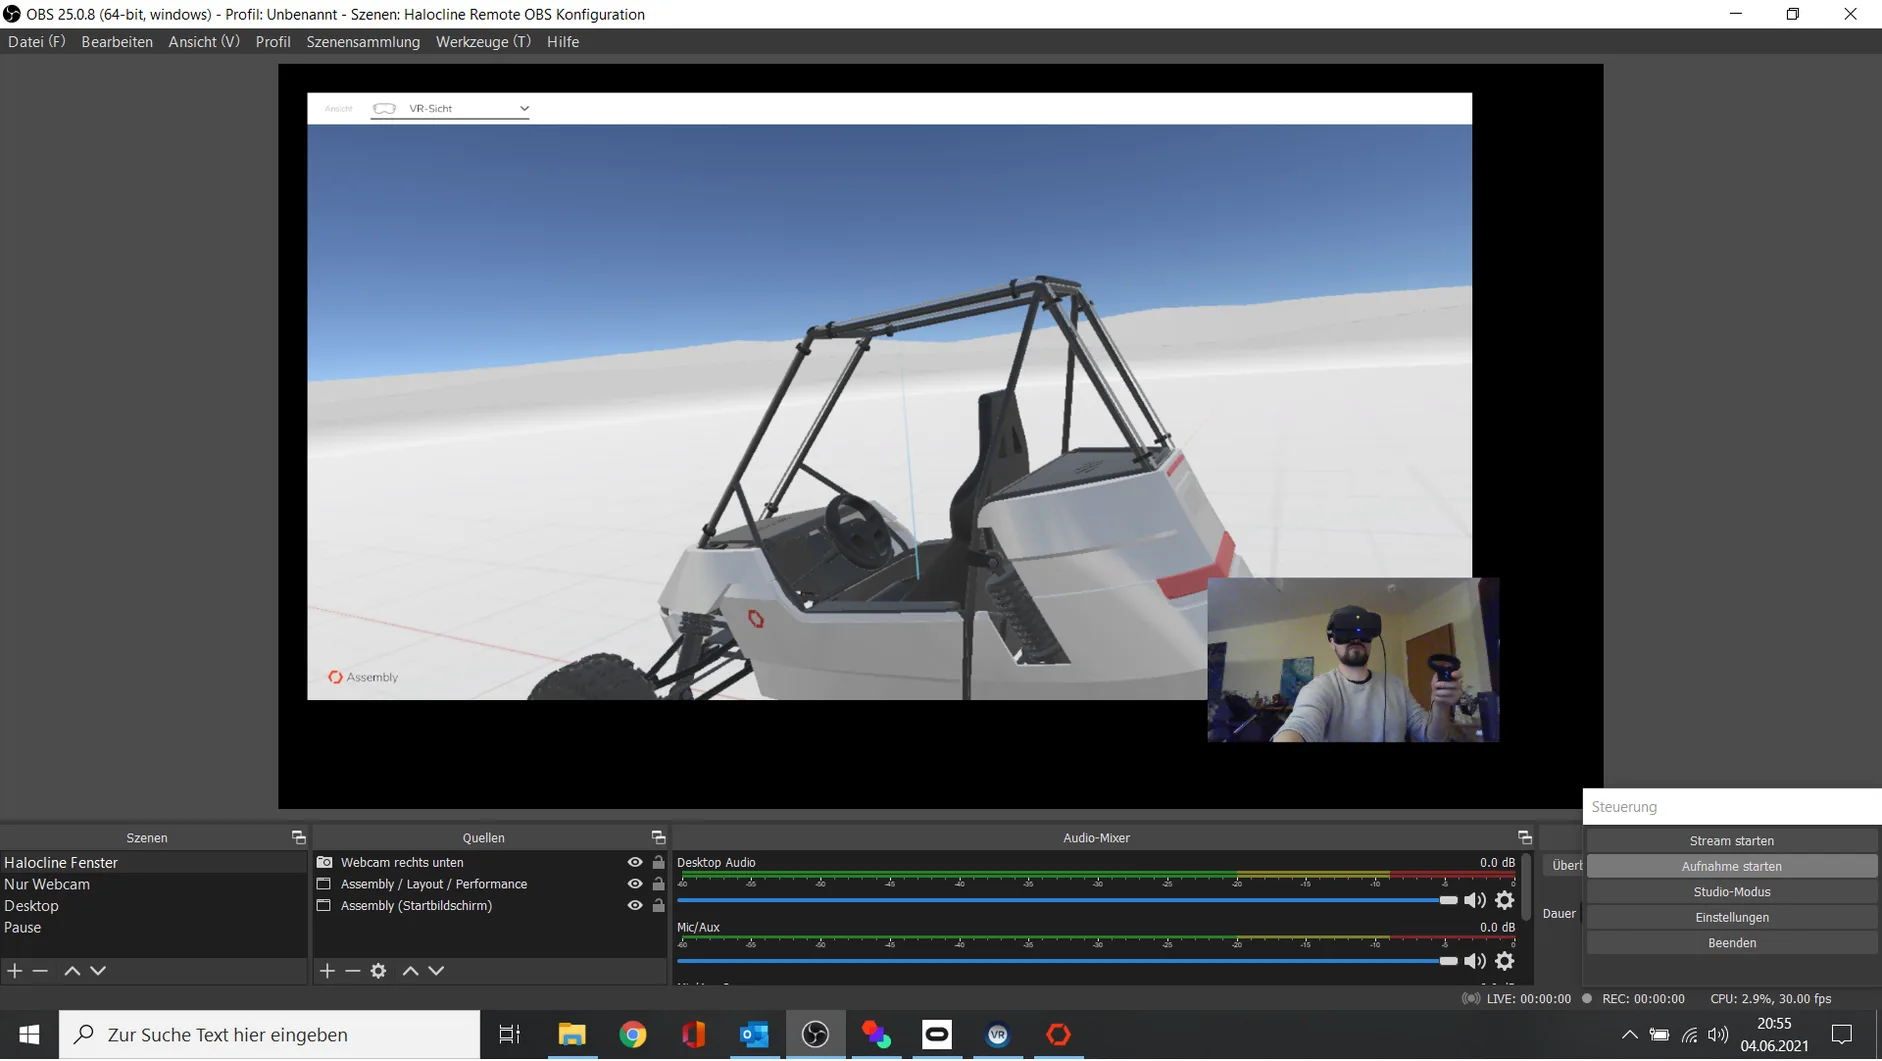
- Click "Stop recording" to end the recording.
- If you did not specify the location in advance, you can find your recorded video in the following directory path: C:\User\StreamProject\Videos or C:\User\Videos.
Presets in Halocline#
Fullscreen#
Use Halocline Layout & Performance in fullscreen mode to hide the Windows taskbar in your recordings. To do this, go to the Desktop Preferences and select the Fullscreen option by clicking the "On" drop-down box.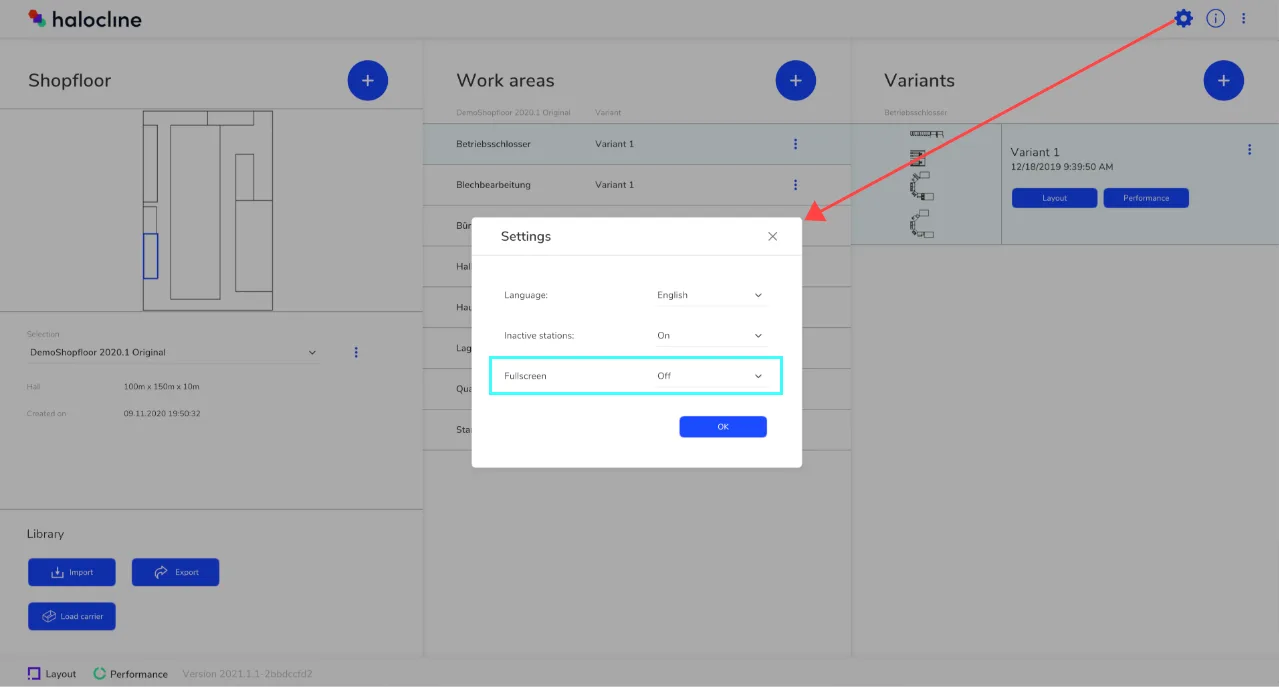
Tip:
When you are in full screen, you can return to the desktop with the Windows key+D keyboard shortcut and switch between open windows with Alt+TAB.
Camera Options in Halocline#
The desktop camera features in Halocline let you choose between different angles for video recording:
- VR view,
- Spectator mode,
- Top view,
- Free camera,
- Orbit Camera.
The camera settings have different advantages depending on what you want to capture.
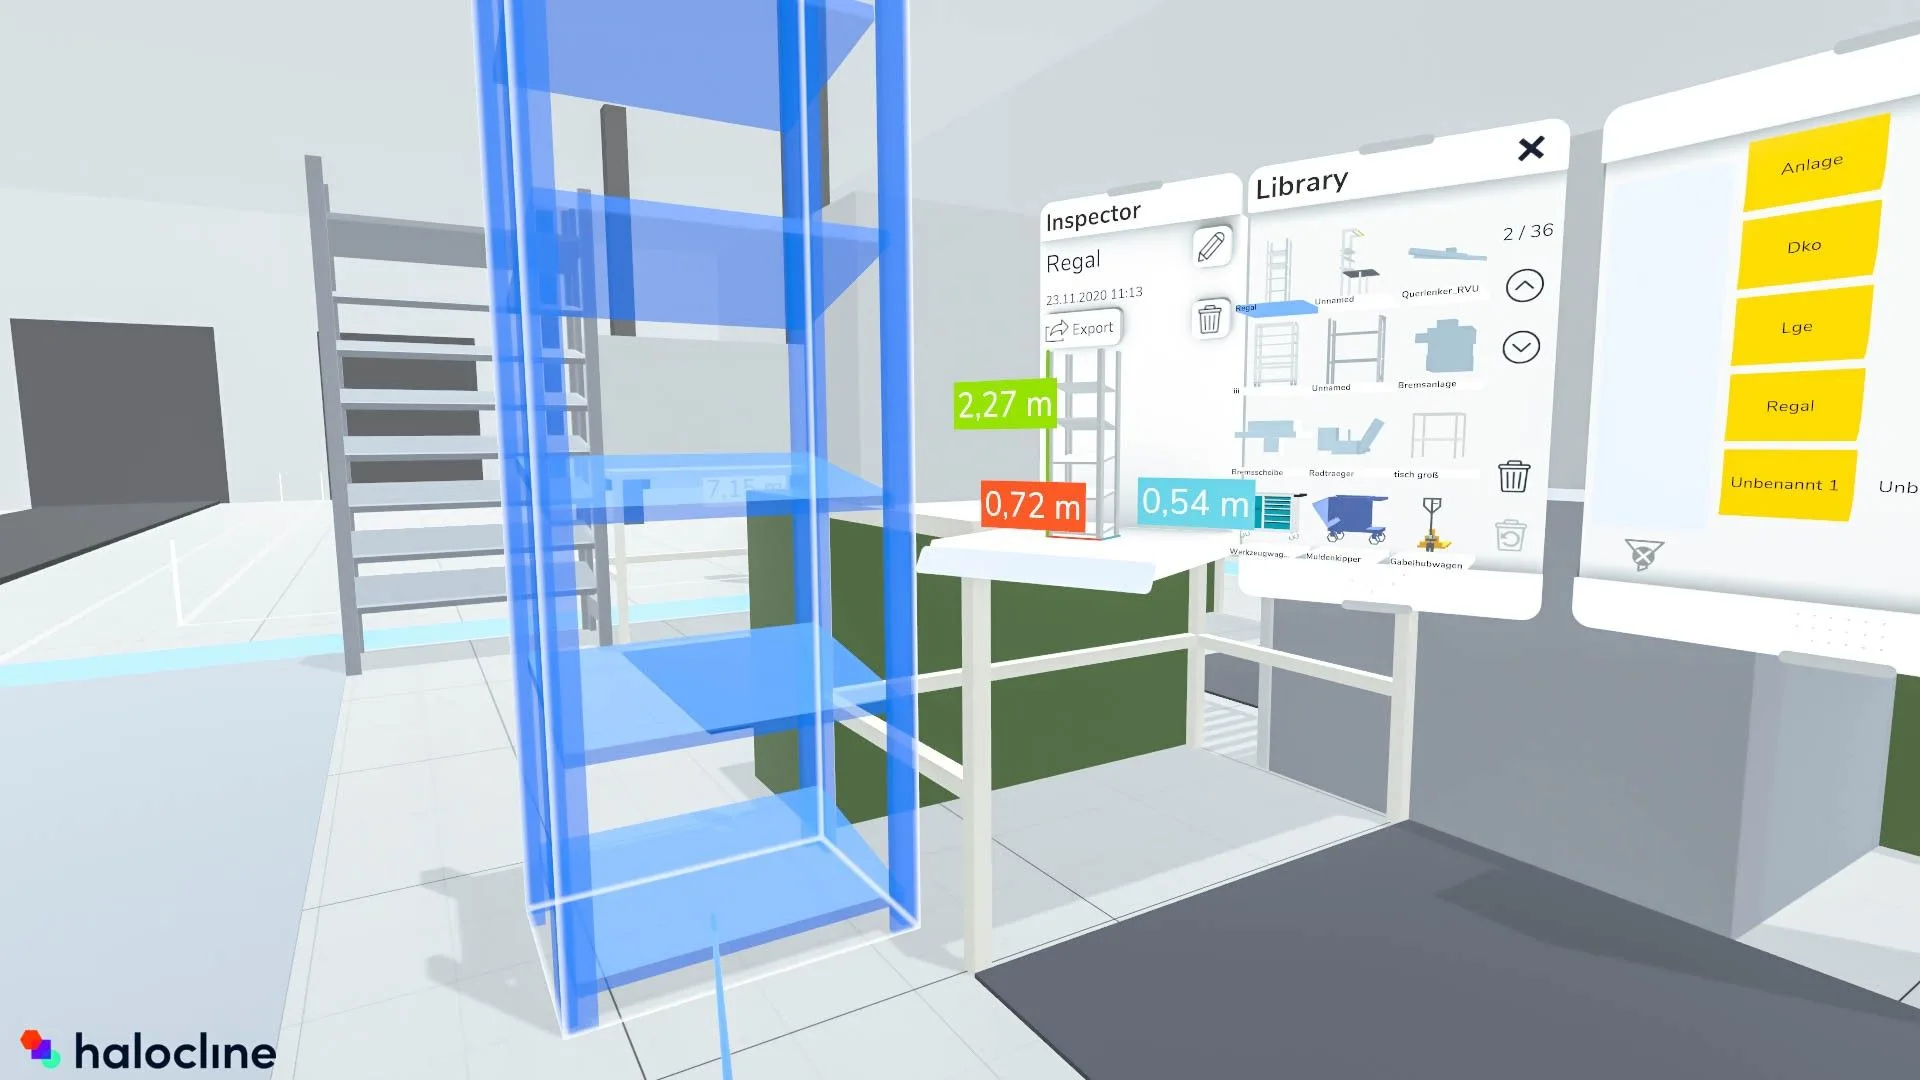
1. VR View
View:
1:1 live transmission of your field of view in the VR goggles.
Usage:
This mode is only conditionally suitable for video recordings because the image picks up the head movements of the VR headset. This can cause the recordings to be very jerky.
Only use this mode if the other modes are not possible in terms of computer performance. For recordings from the VR user's point of view, use the spectator mode instead.
Expert Tip:
Do you want to record the exact image that is transmitted in the VR goggles? Then you can click on "Steam VR 1.14.0" in Steam VR and click on "Show VR view". This will also show you when the person with the VR goggles goes into the Steam menu. This is only transferred to the glasses, but not to the desktop.
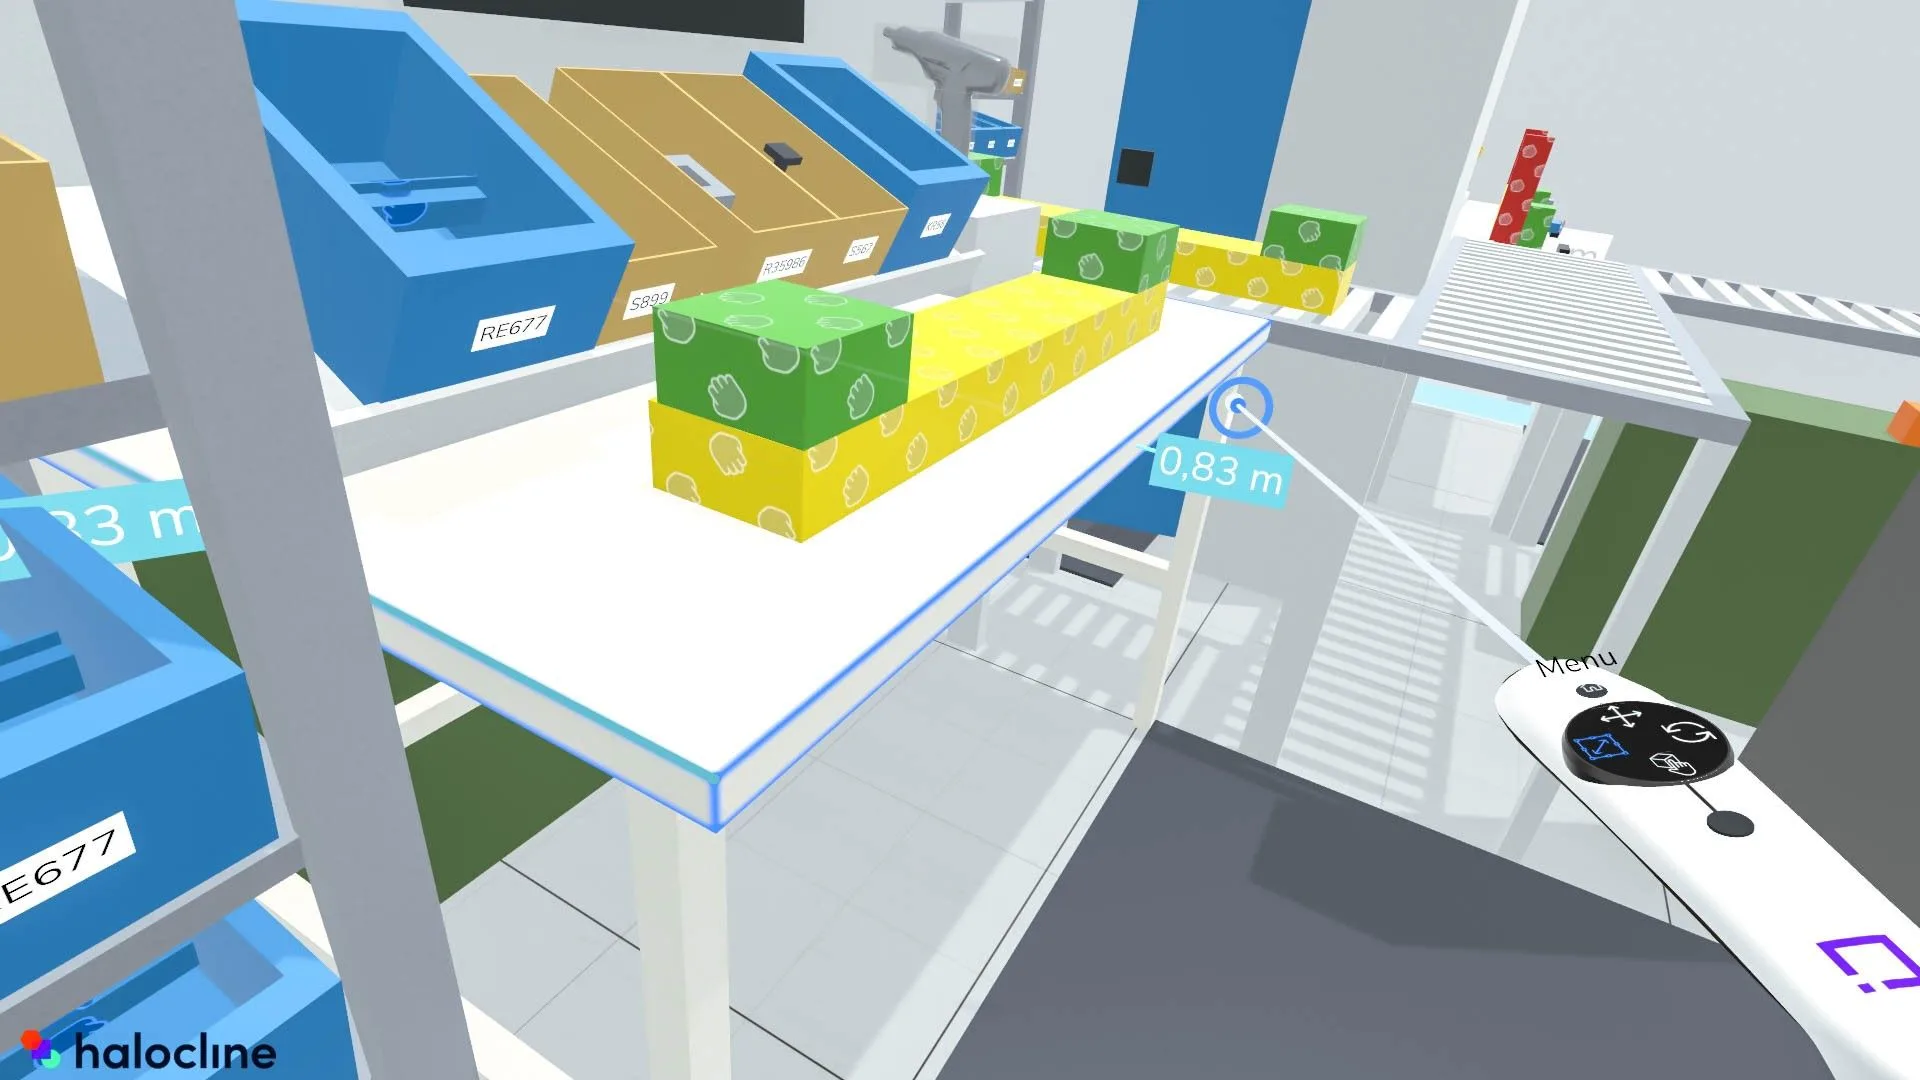
2. Spector Mode
View:
Smoothed view of VR user.
Usage:
This camera is particularly well suited for video recording from your perspective in VR.
From this perspective, the planning & assembly process becomes tangible for viewers.
Suitable scenes would be, for example, going through the assembly process, building up a small area or pointing out special features with the painting tool.
3. Top View
View:
2D view of your shopfloor from above.
Usage:
- This camera gives a good overview of your planning. Use this view to give spectators a better orientation in the floor.
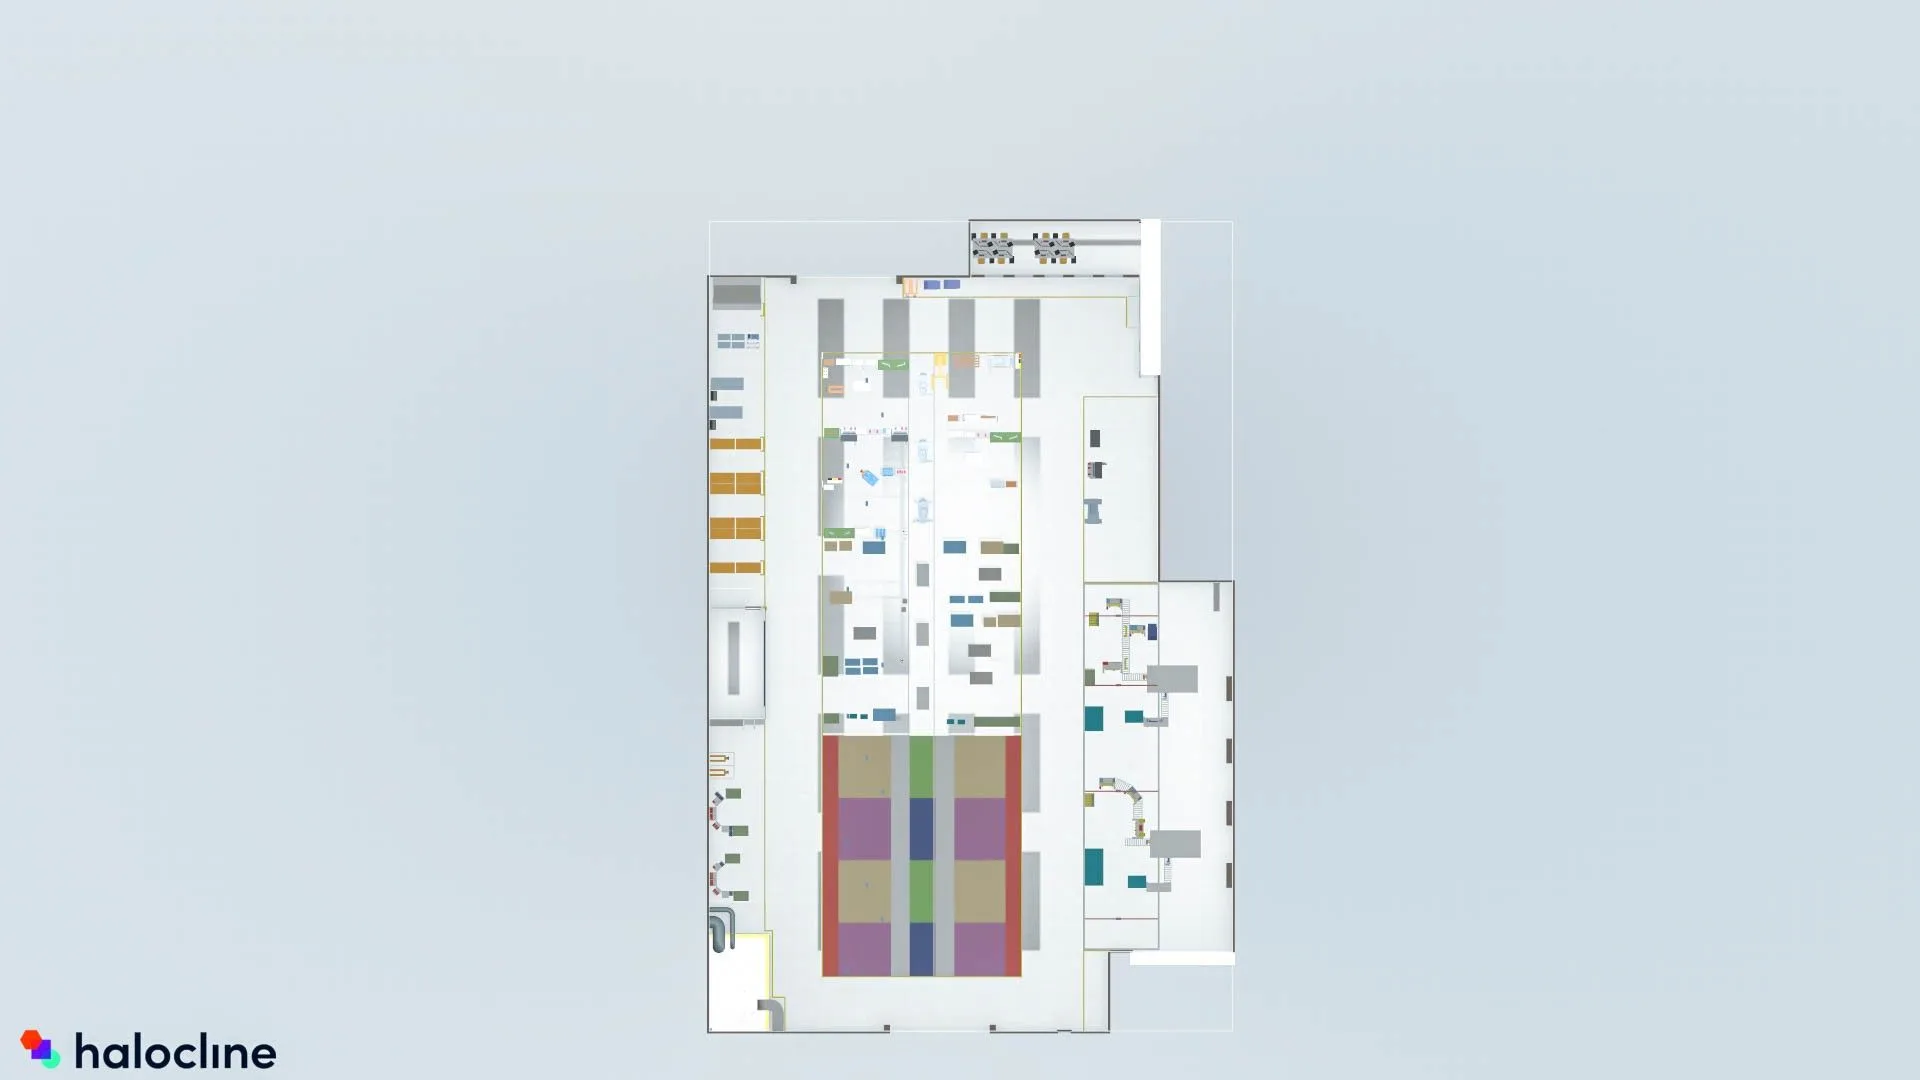
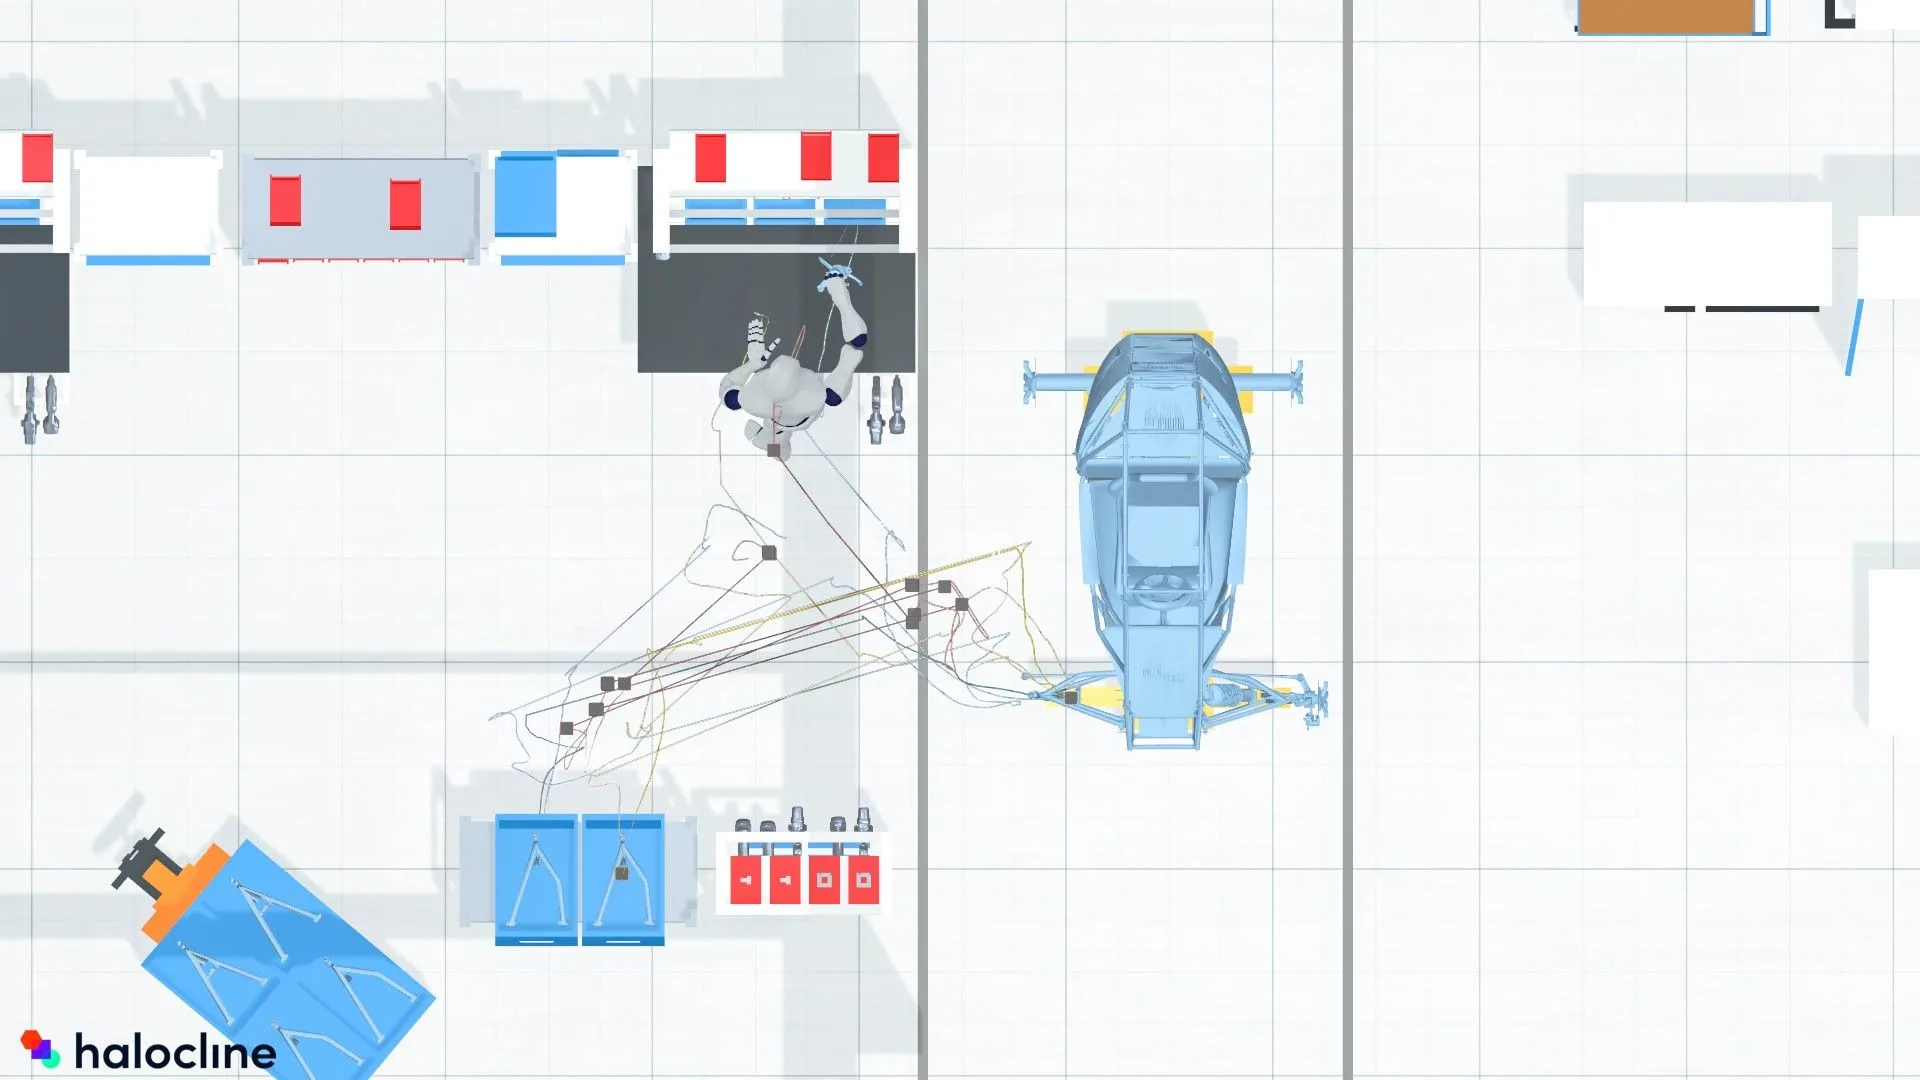
Use the camera controls to move around in this view, for example to create a zoom effect on a station.
By displaying spaghetti diagrams and movement spaces in Halocline Performance, you can clearly capture walking distances and movement spaces in this view.
4. Free Camera
View:
Manually controllable camera.
Usage:
- This camera gives a stable view of the VR user or avatar from the outside. Use these settings for shooting within a small area that you do not move out of.
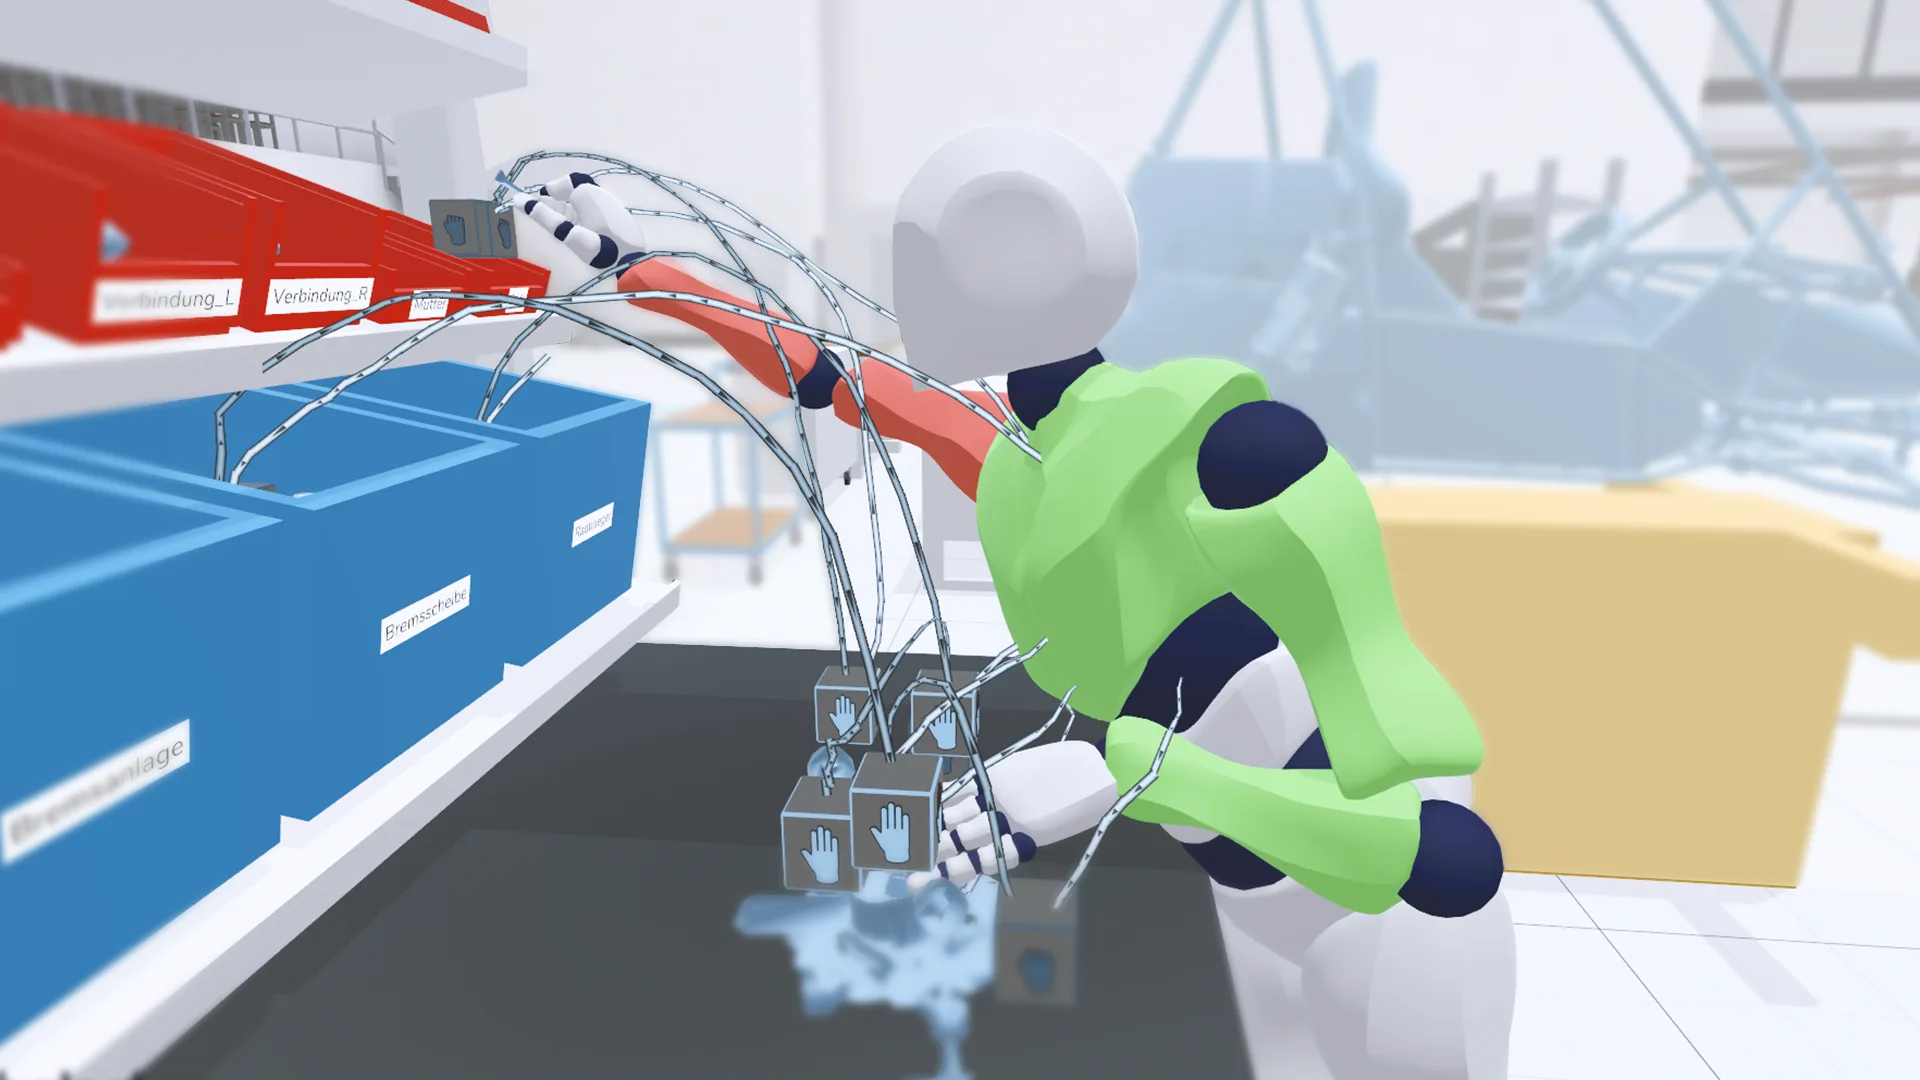
This setting is especially good for time-lapse photography. To do this, position the camera so that it captures the entire area where you or the avatar is moving. In video editing, you can later increase the speed of these very stable shots very well. Use this, for example, to show the setup of a workstation or a long process.
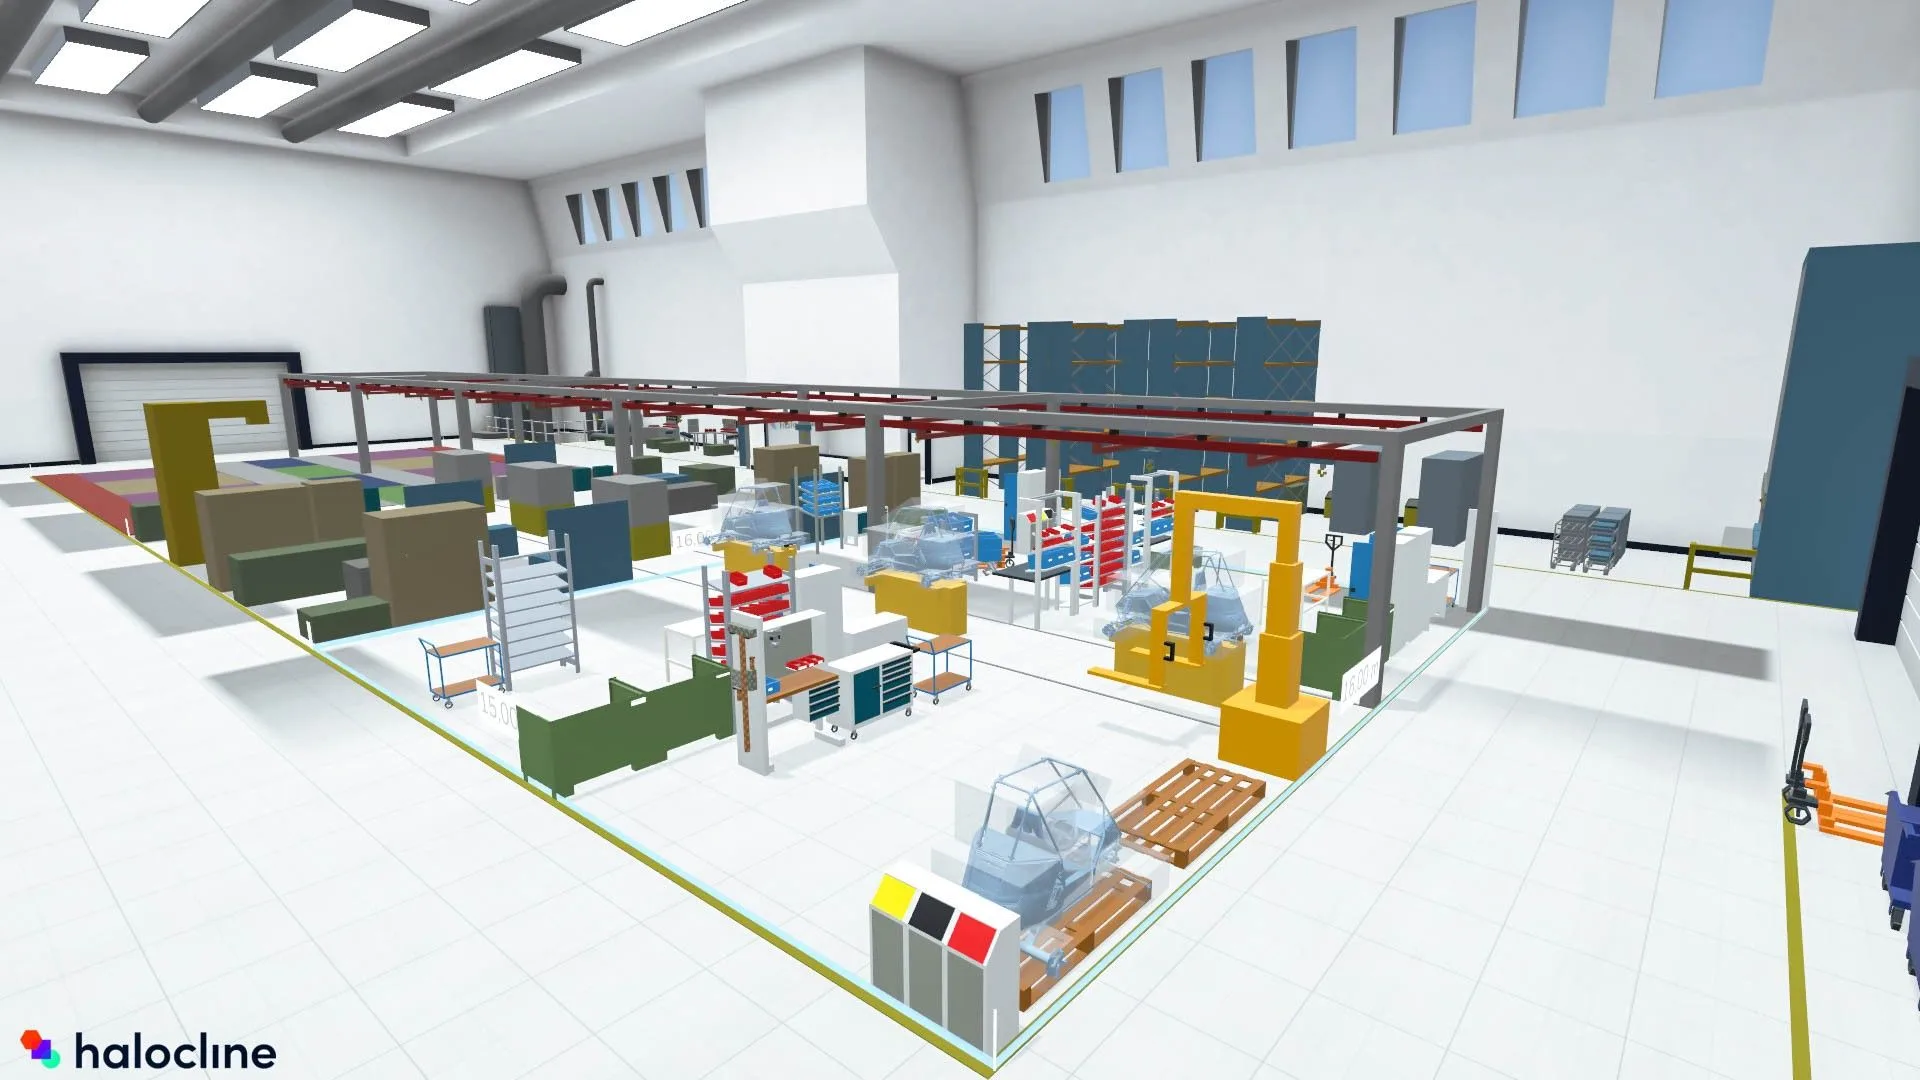
To document the construction of your shopfloor, you can also control the camera from the outside to make tracking shots through your planning.
Expert Tip: Mixed Reality
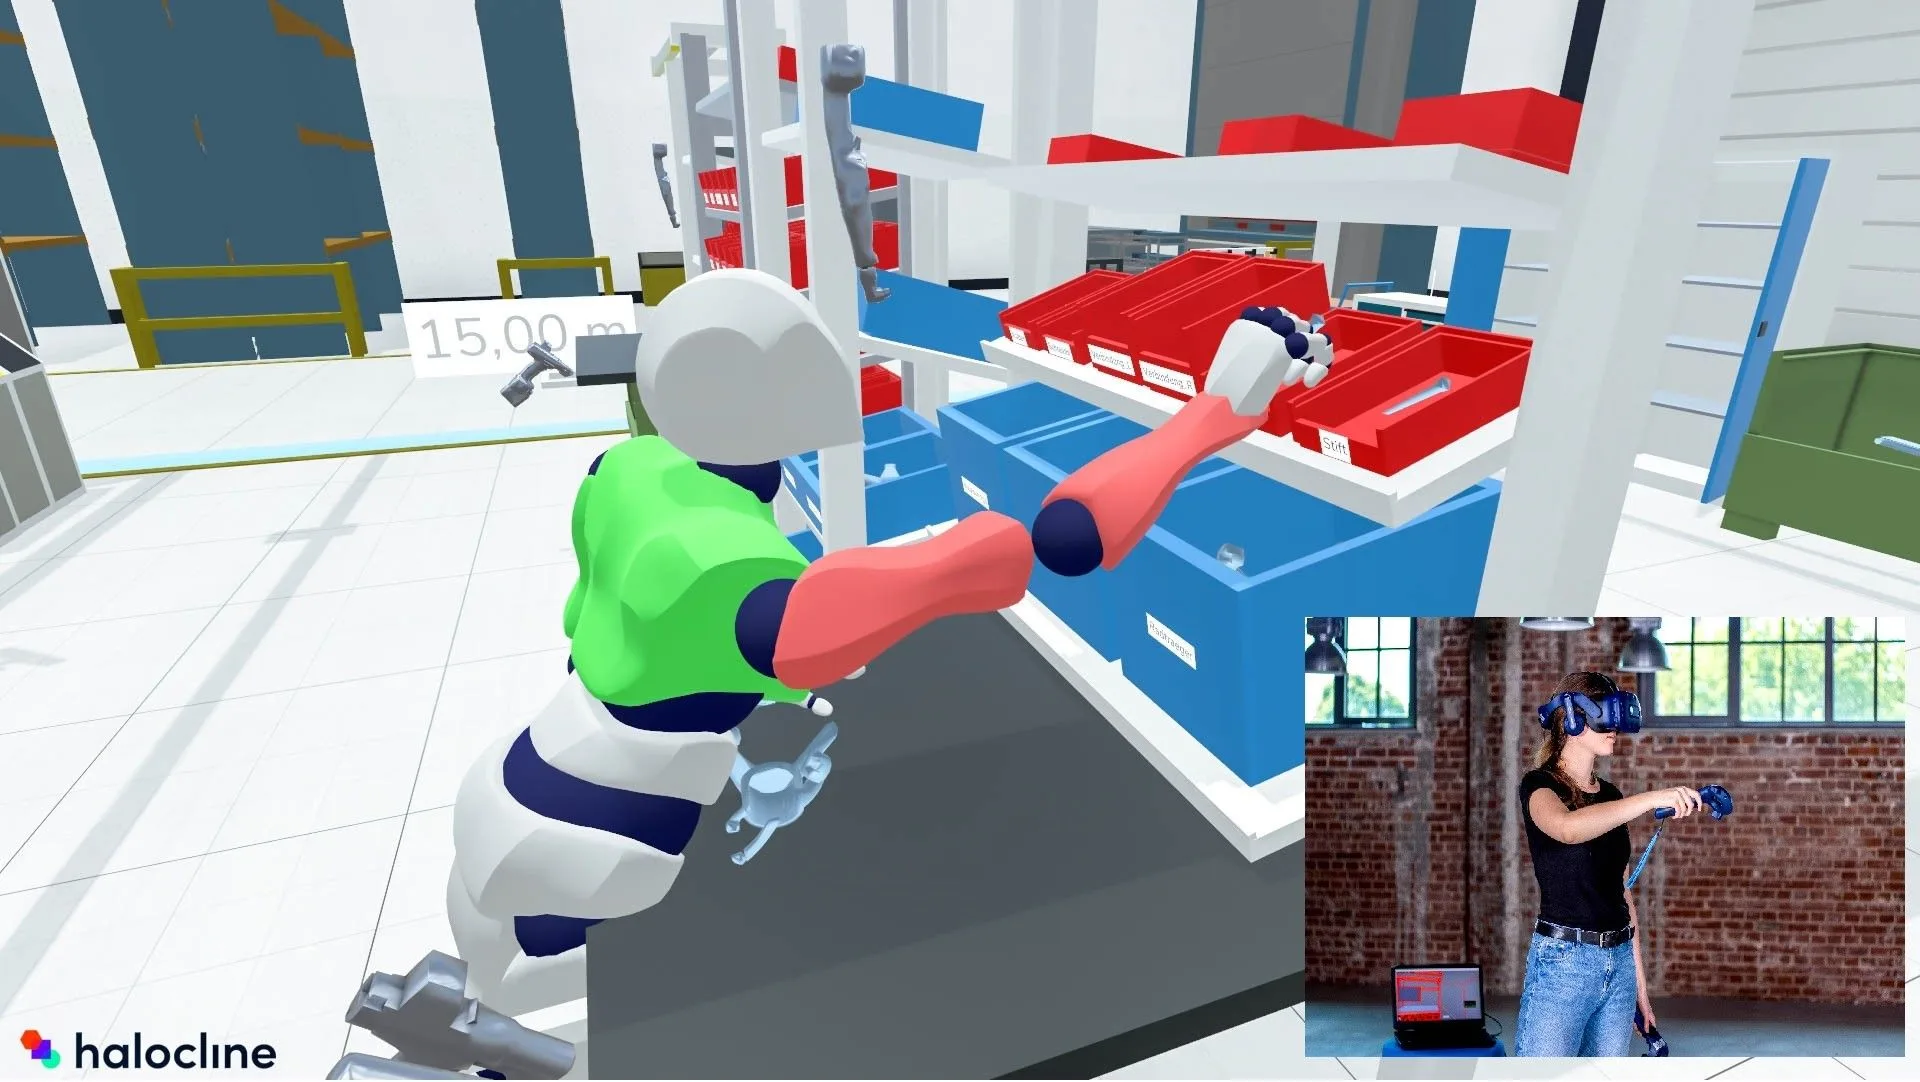
In addition to your desktop image, record yourself in reality. You can do this easily via your webcam. In the end, you can create a picture-in-picture, which clearly shows which movements you made in reality and how they looked in VR. The best way to do this is to set the free camera at the same angle as you are facing your webcam.
5. Orbit Camera
View:
A camera that always follows you and looks over your shoulder.
Usage:
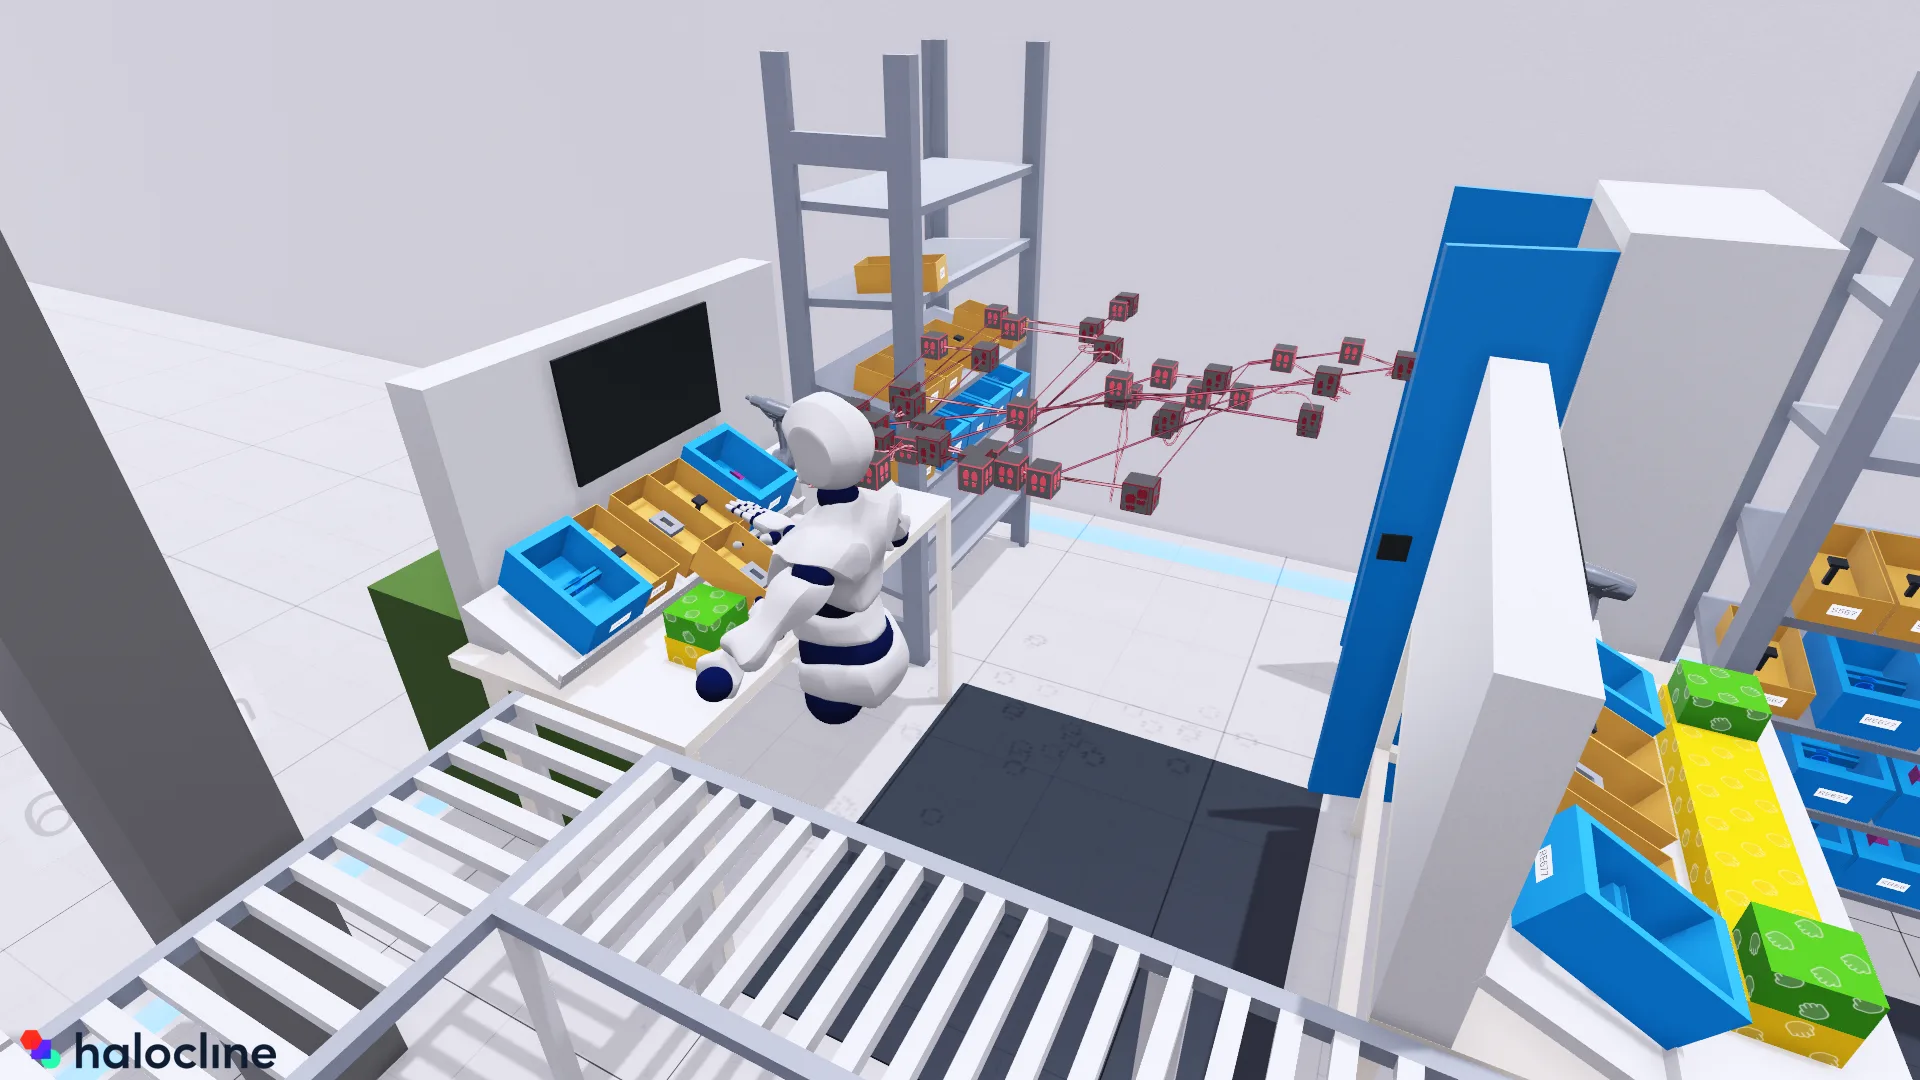
The advantage of the Orbit Camera is that you can record live without having to control the camera. It always hovers behind you and looks over your shoulder.
This is particularly useful for recording longer processes where it is important to understand the work process from the worker's point of view. Viewers can orient themselves better with this view and recognize potential for improvement more easily.
Make sure that objects can be in view of the camera. In very densely planned shopfloors, use a zoom level close to the VR user to avoid occlusions.
Recommended Scenes According to Your Use Case#
Overview of the planning
Top view of the shopfloor
Tracking shot through the shopfloor with the free camera
Variant change with the same camera setting
Functionality of the software
Selection and export to assembly (spectator mode)
Building something in time-lapse, e.g. a table with library elements (free camera)
Run through a process (spectator mode, free camera, orbit camera, mixed reality)
Analyze a process shot > focus on the avatar, turn on different visualizations (free camera), show walking paths (top view)
Process visualization
Play through the process from the first-person perspective (spectator mode, orbit camera)
Playback of the recorded process in performance (free camera)
Overview of the process > Spaghetti diagram with head visualization (top view)
Cut#
After you have finished recording, you can cut your video to your preferences. To edit your recording, we recommend the following programs:
Related to